
Today I’ve got for you the new NZXT H6 RGB Plus case, one of NZXT’s most notable new releases from Computex a few days back.
NZXT H6 RGB Plus Technical Specifications
First Impressions and Design
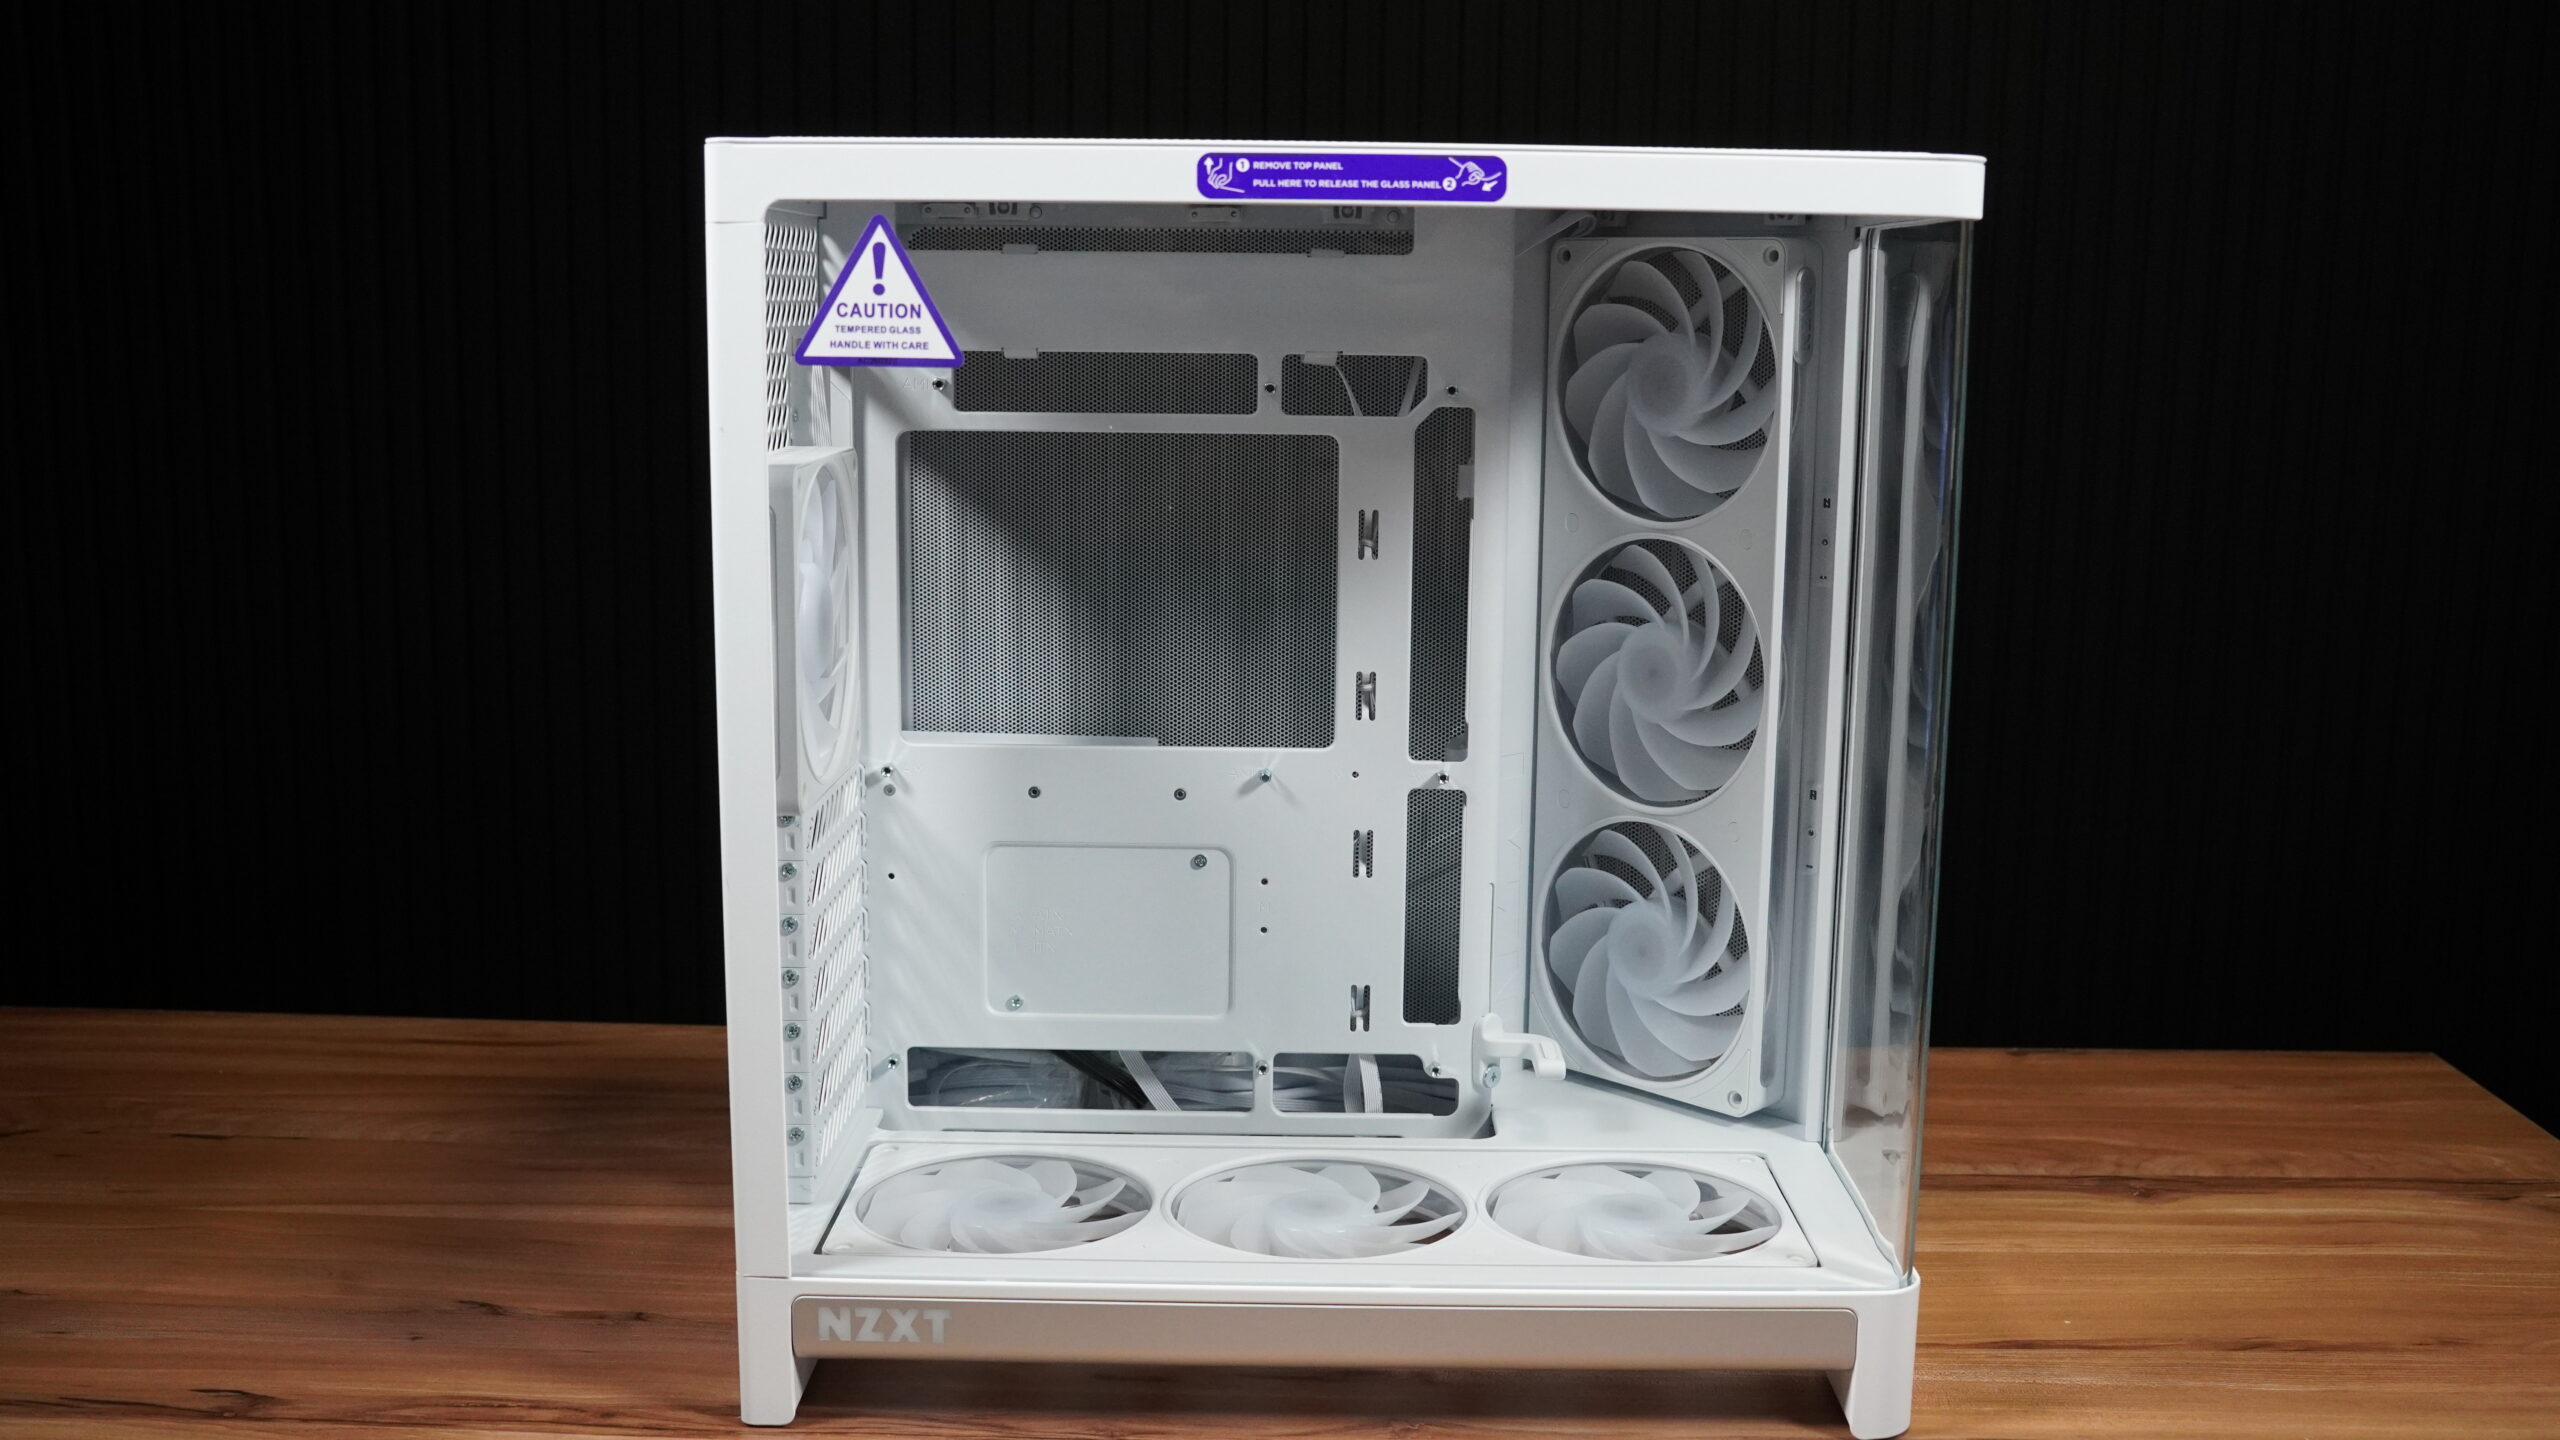
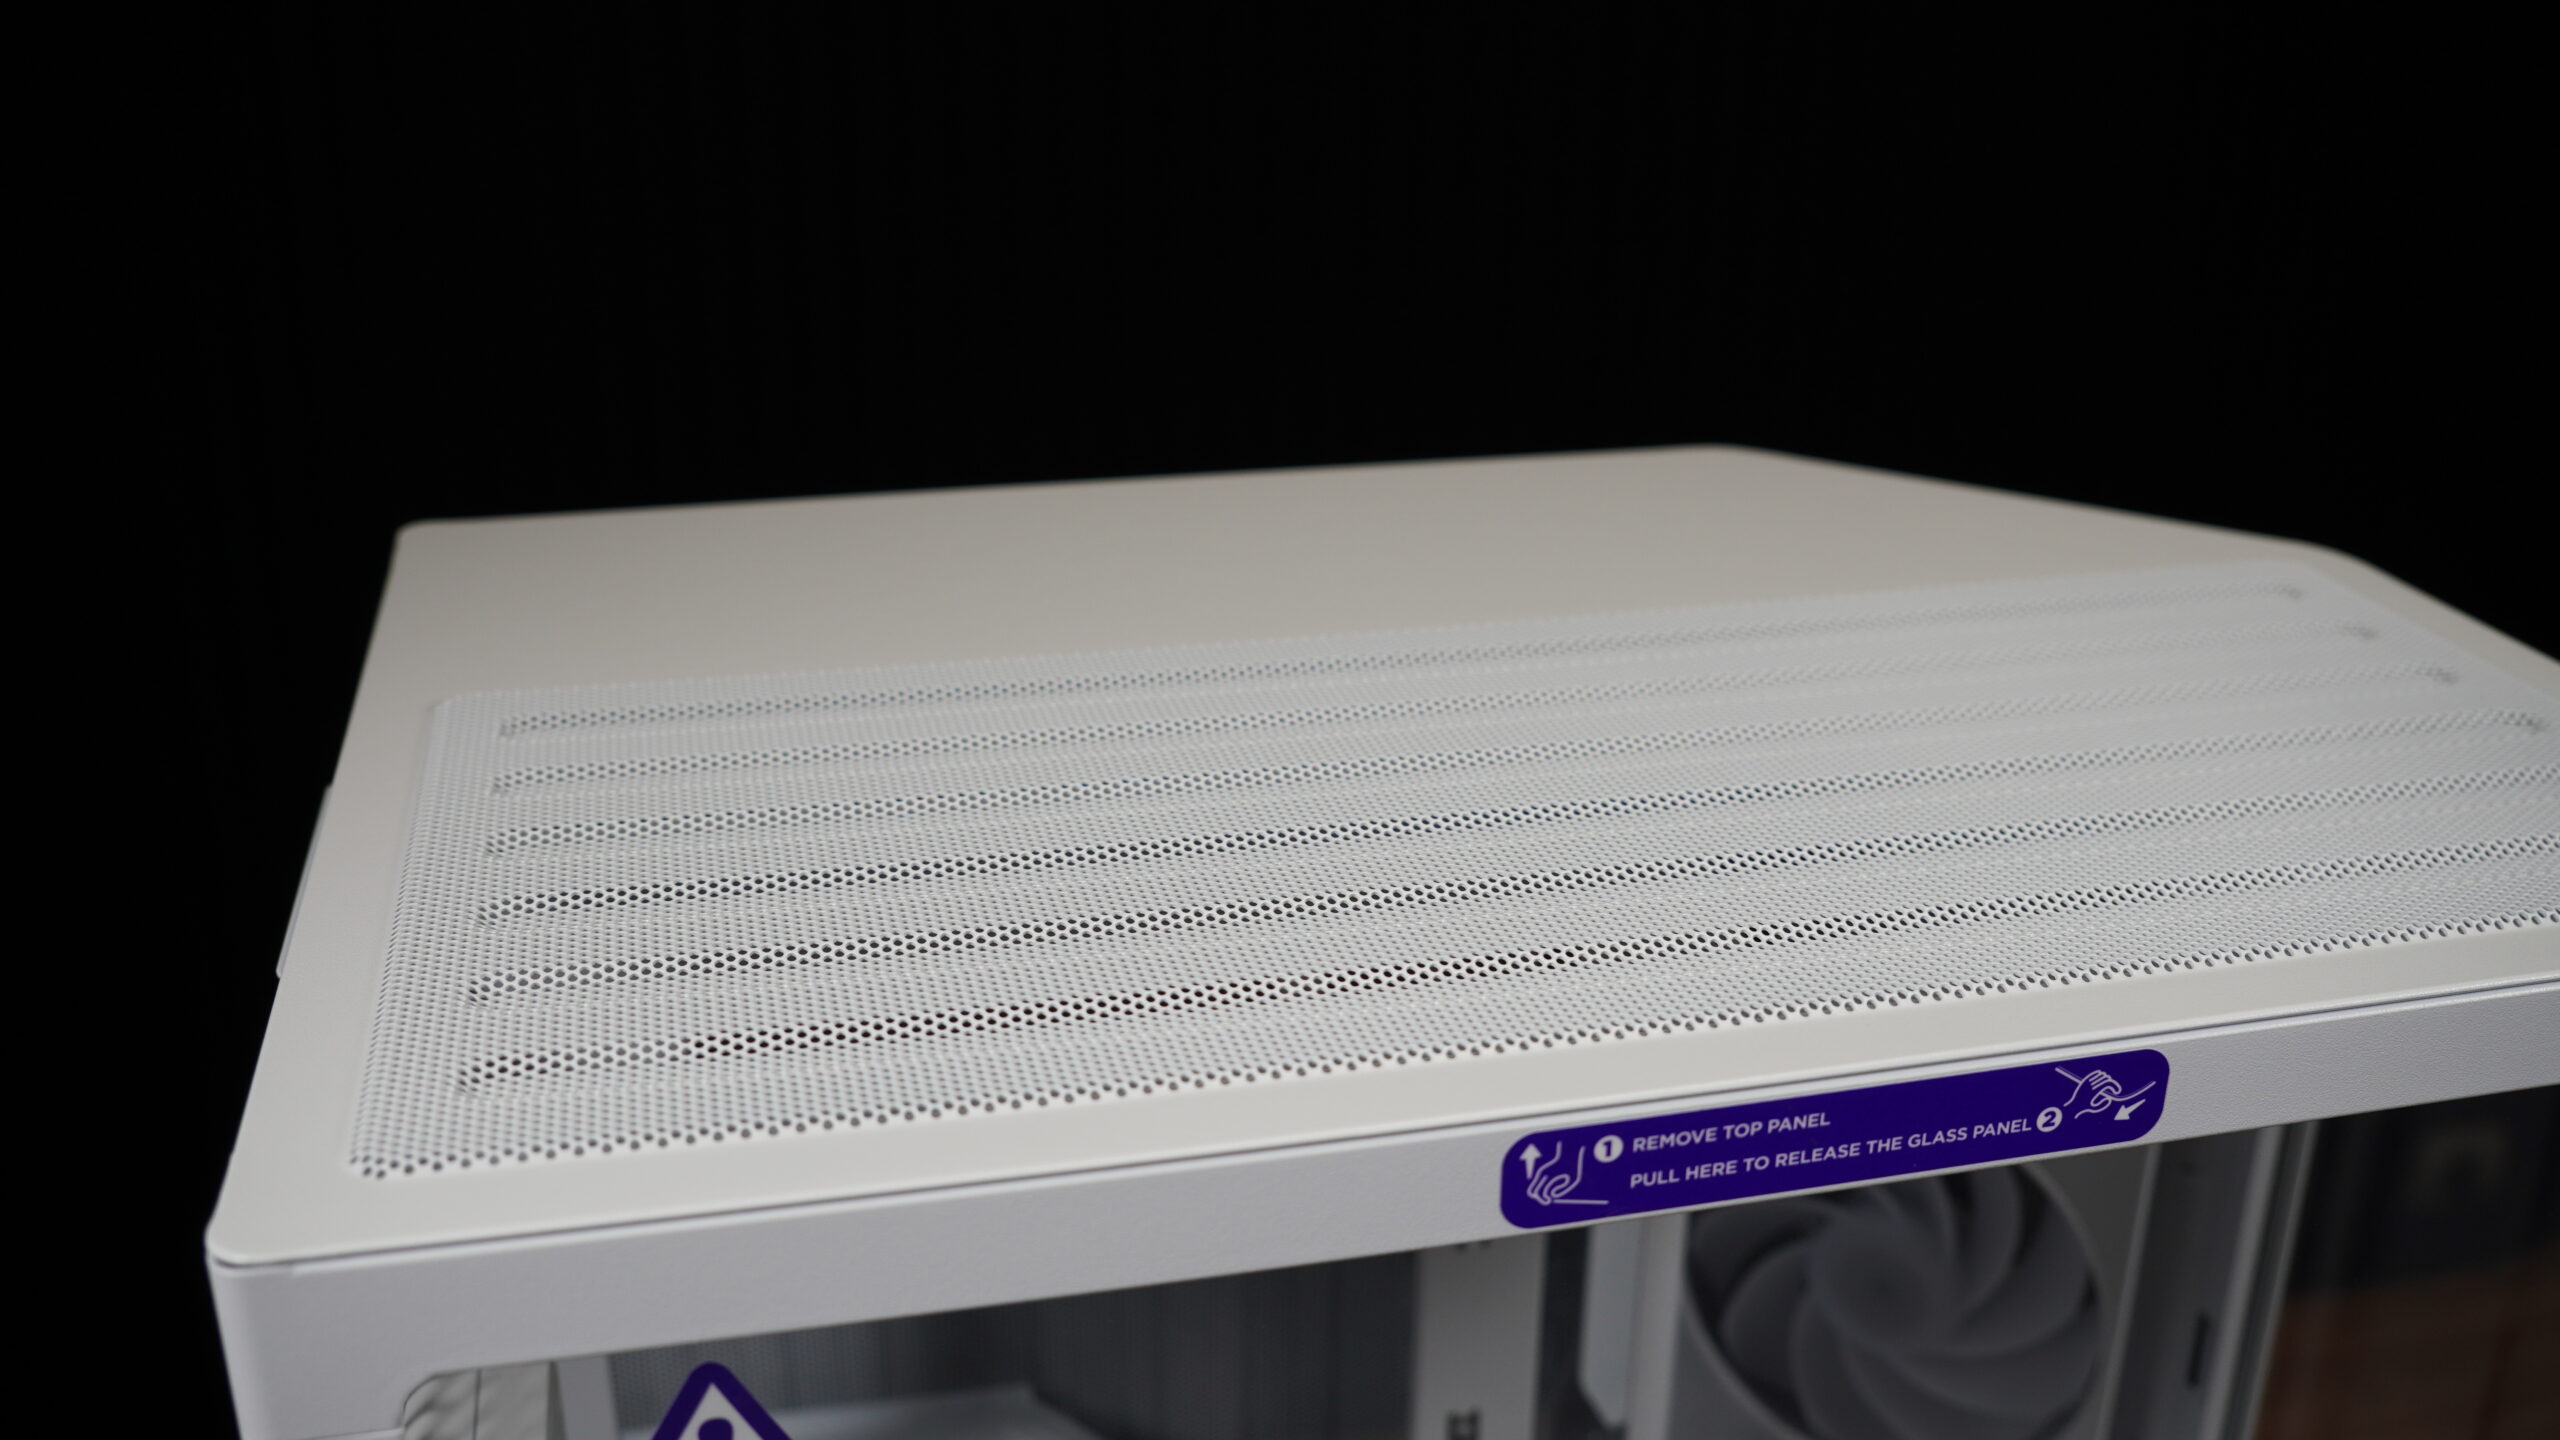
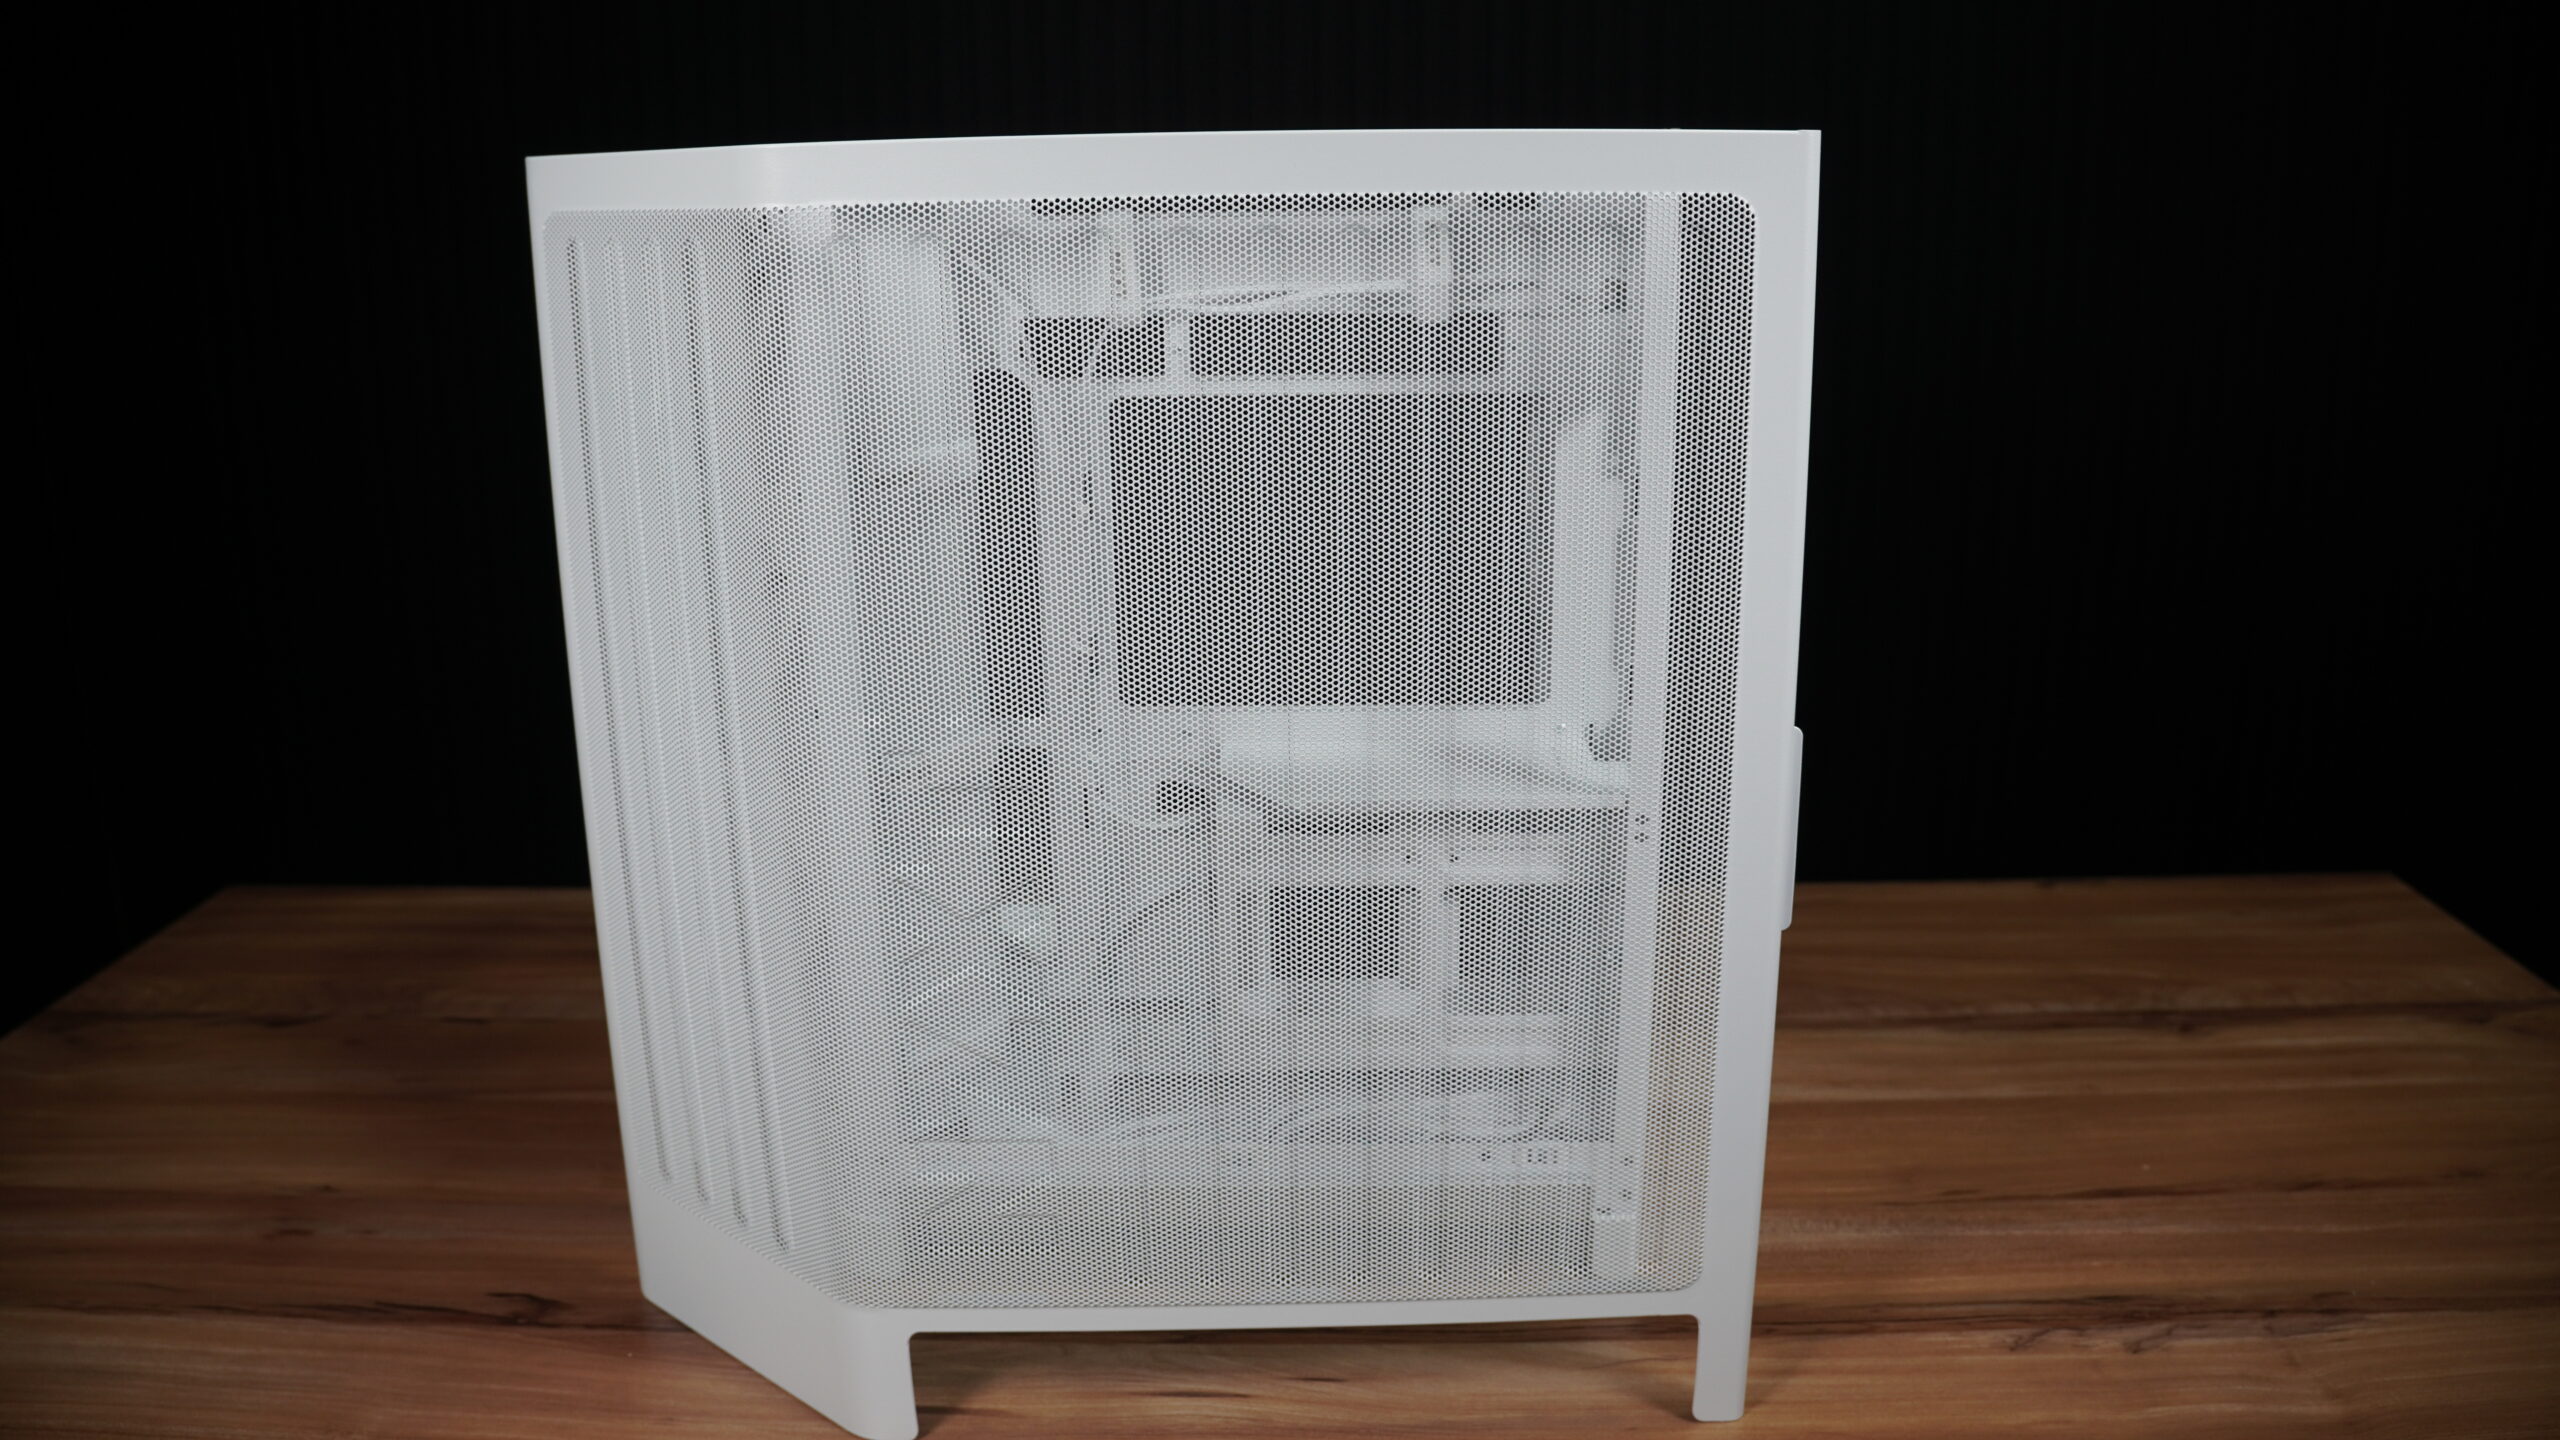
This NZXT H6 RGB Plus is a Mid Tower case, measuring 448mm high, 292mm wide, and 420mm deep, for a total volume of 55 liters. It’s pretty hefty at 9.3 kilograms, but once it’s set up, that weight won’t be an issue. What I really liked about this case, among other things, is how clean it is to access the internal components. You won’t find any screws holding the three removable panels in place. It’s much cleaner, and it’s also secure; they won’t just pop off if you move the case.
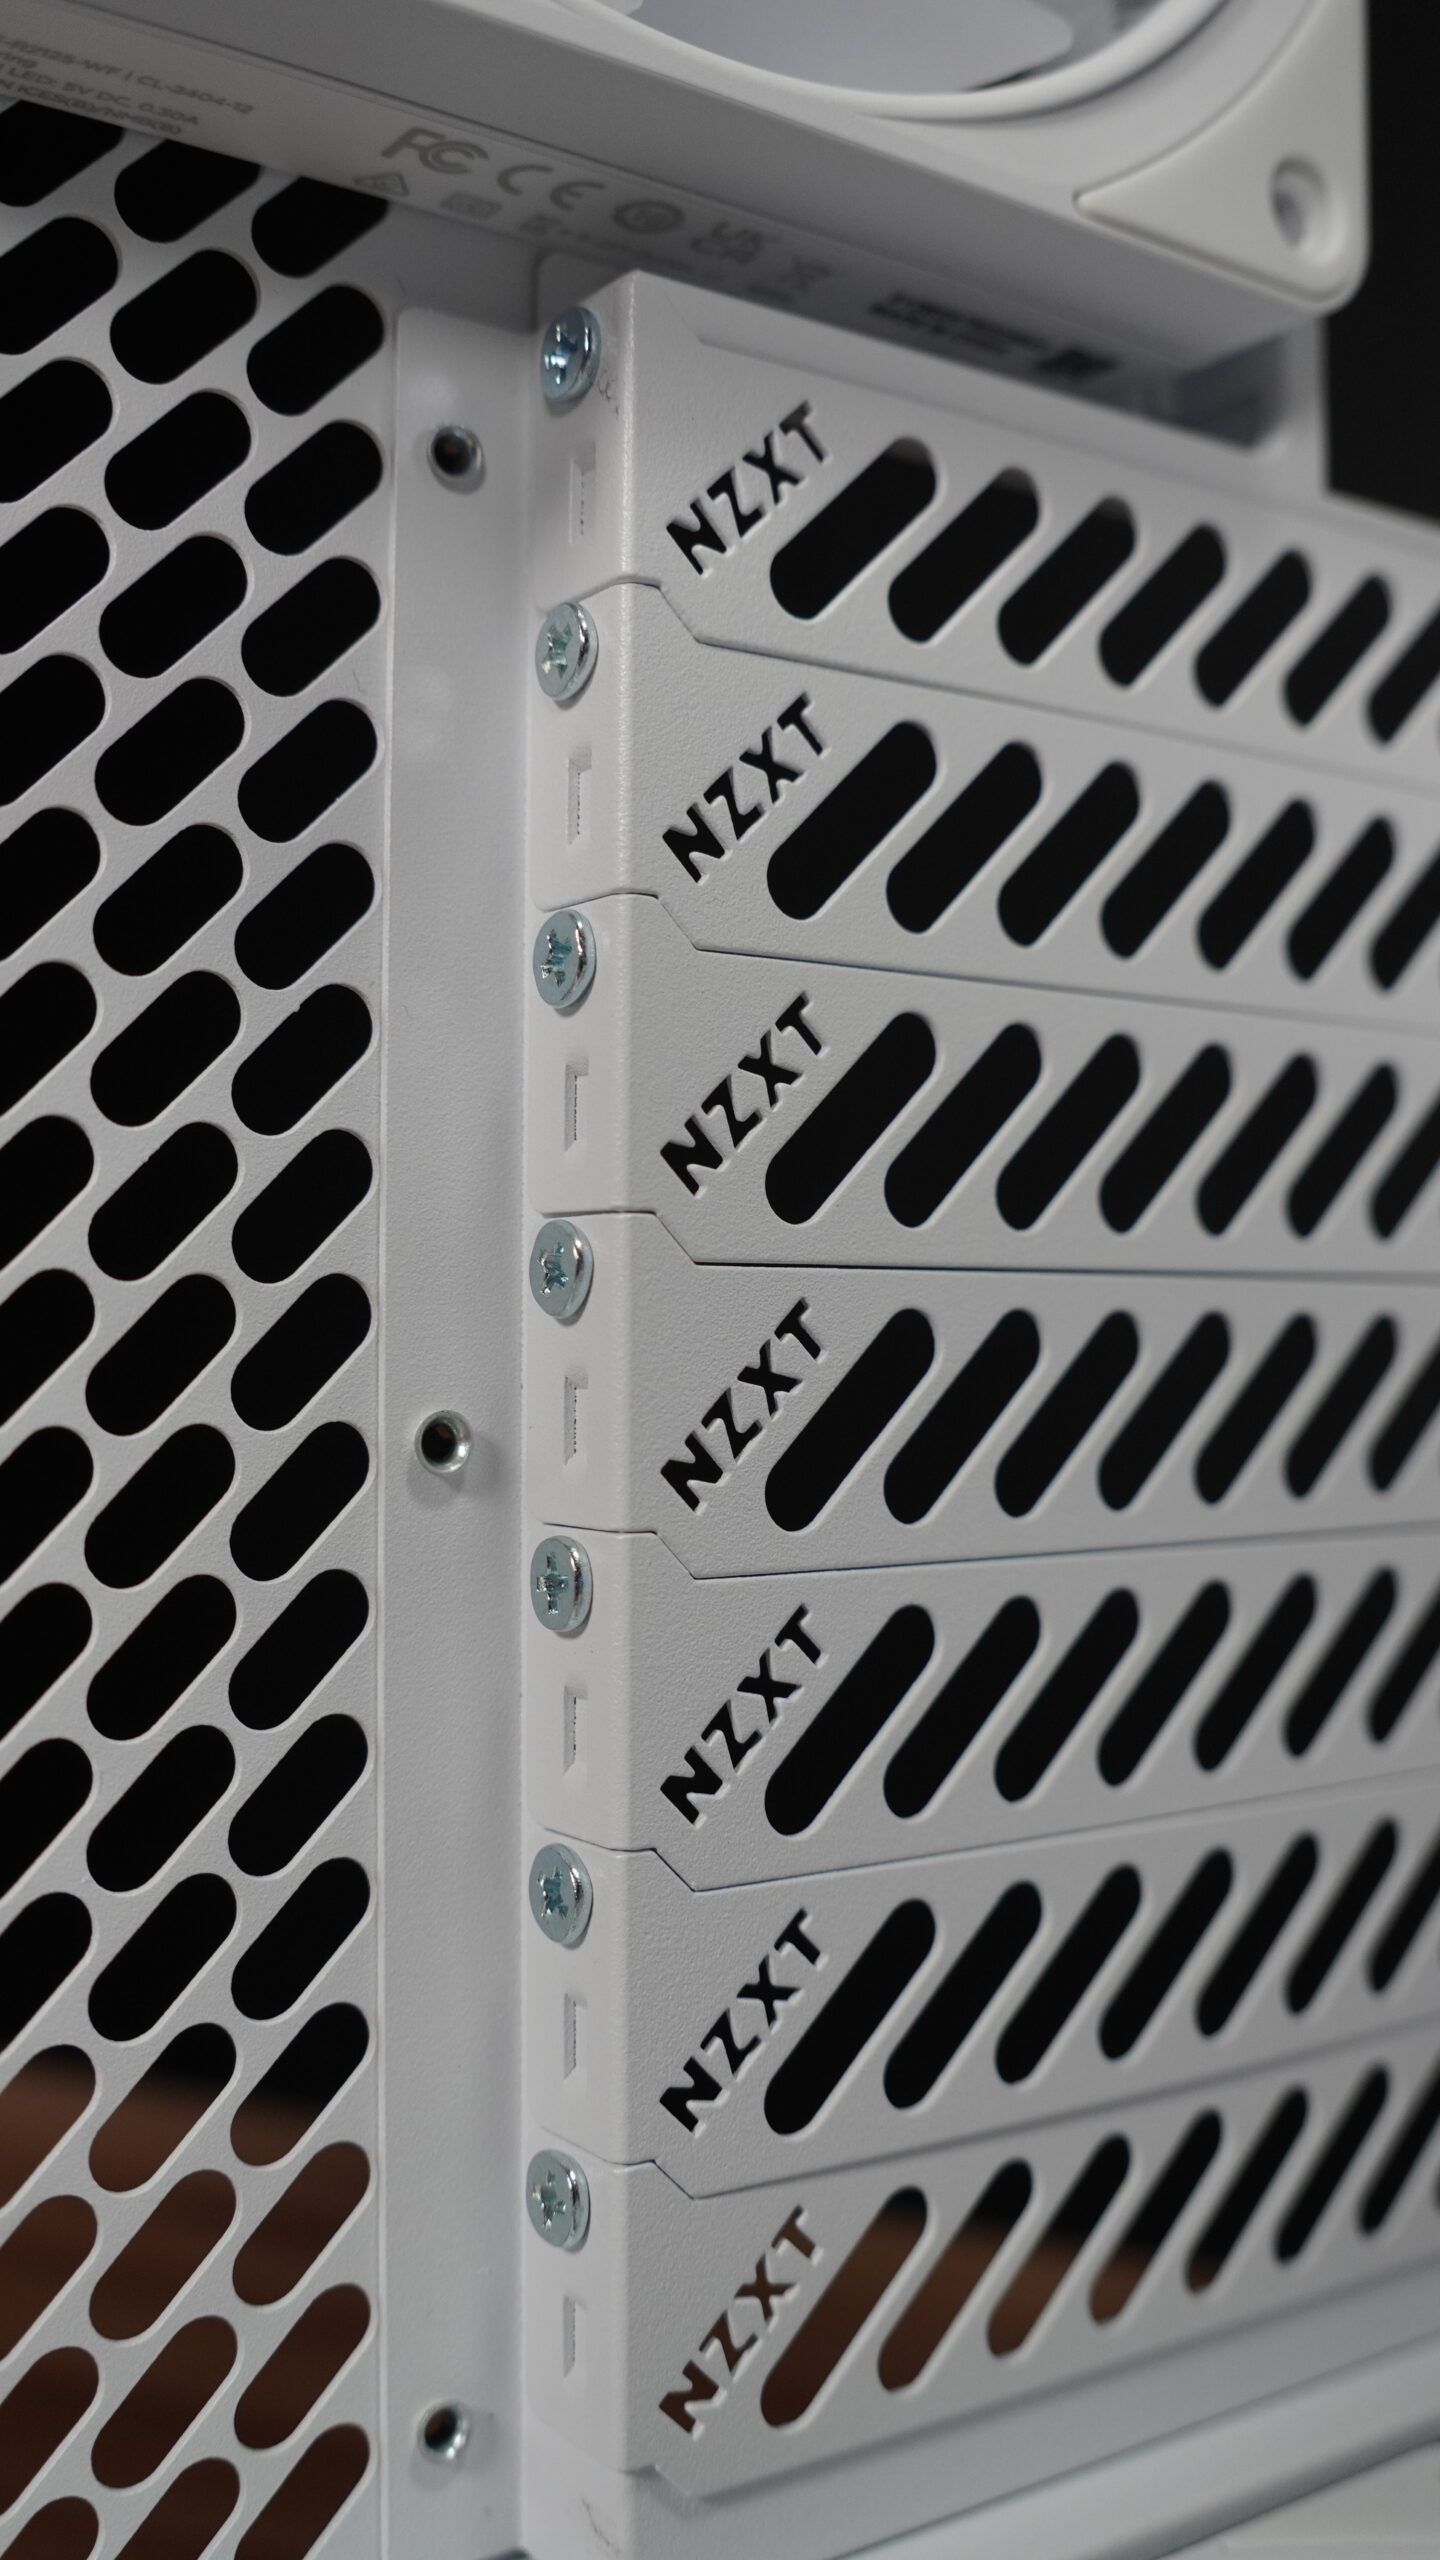
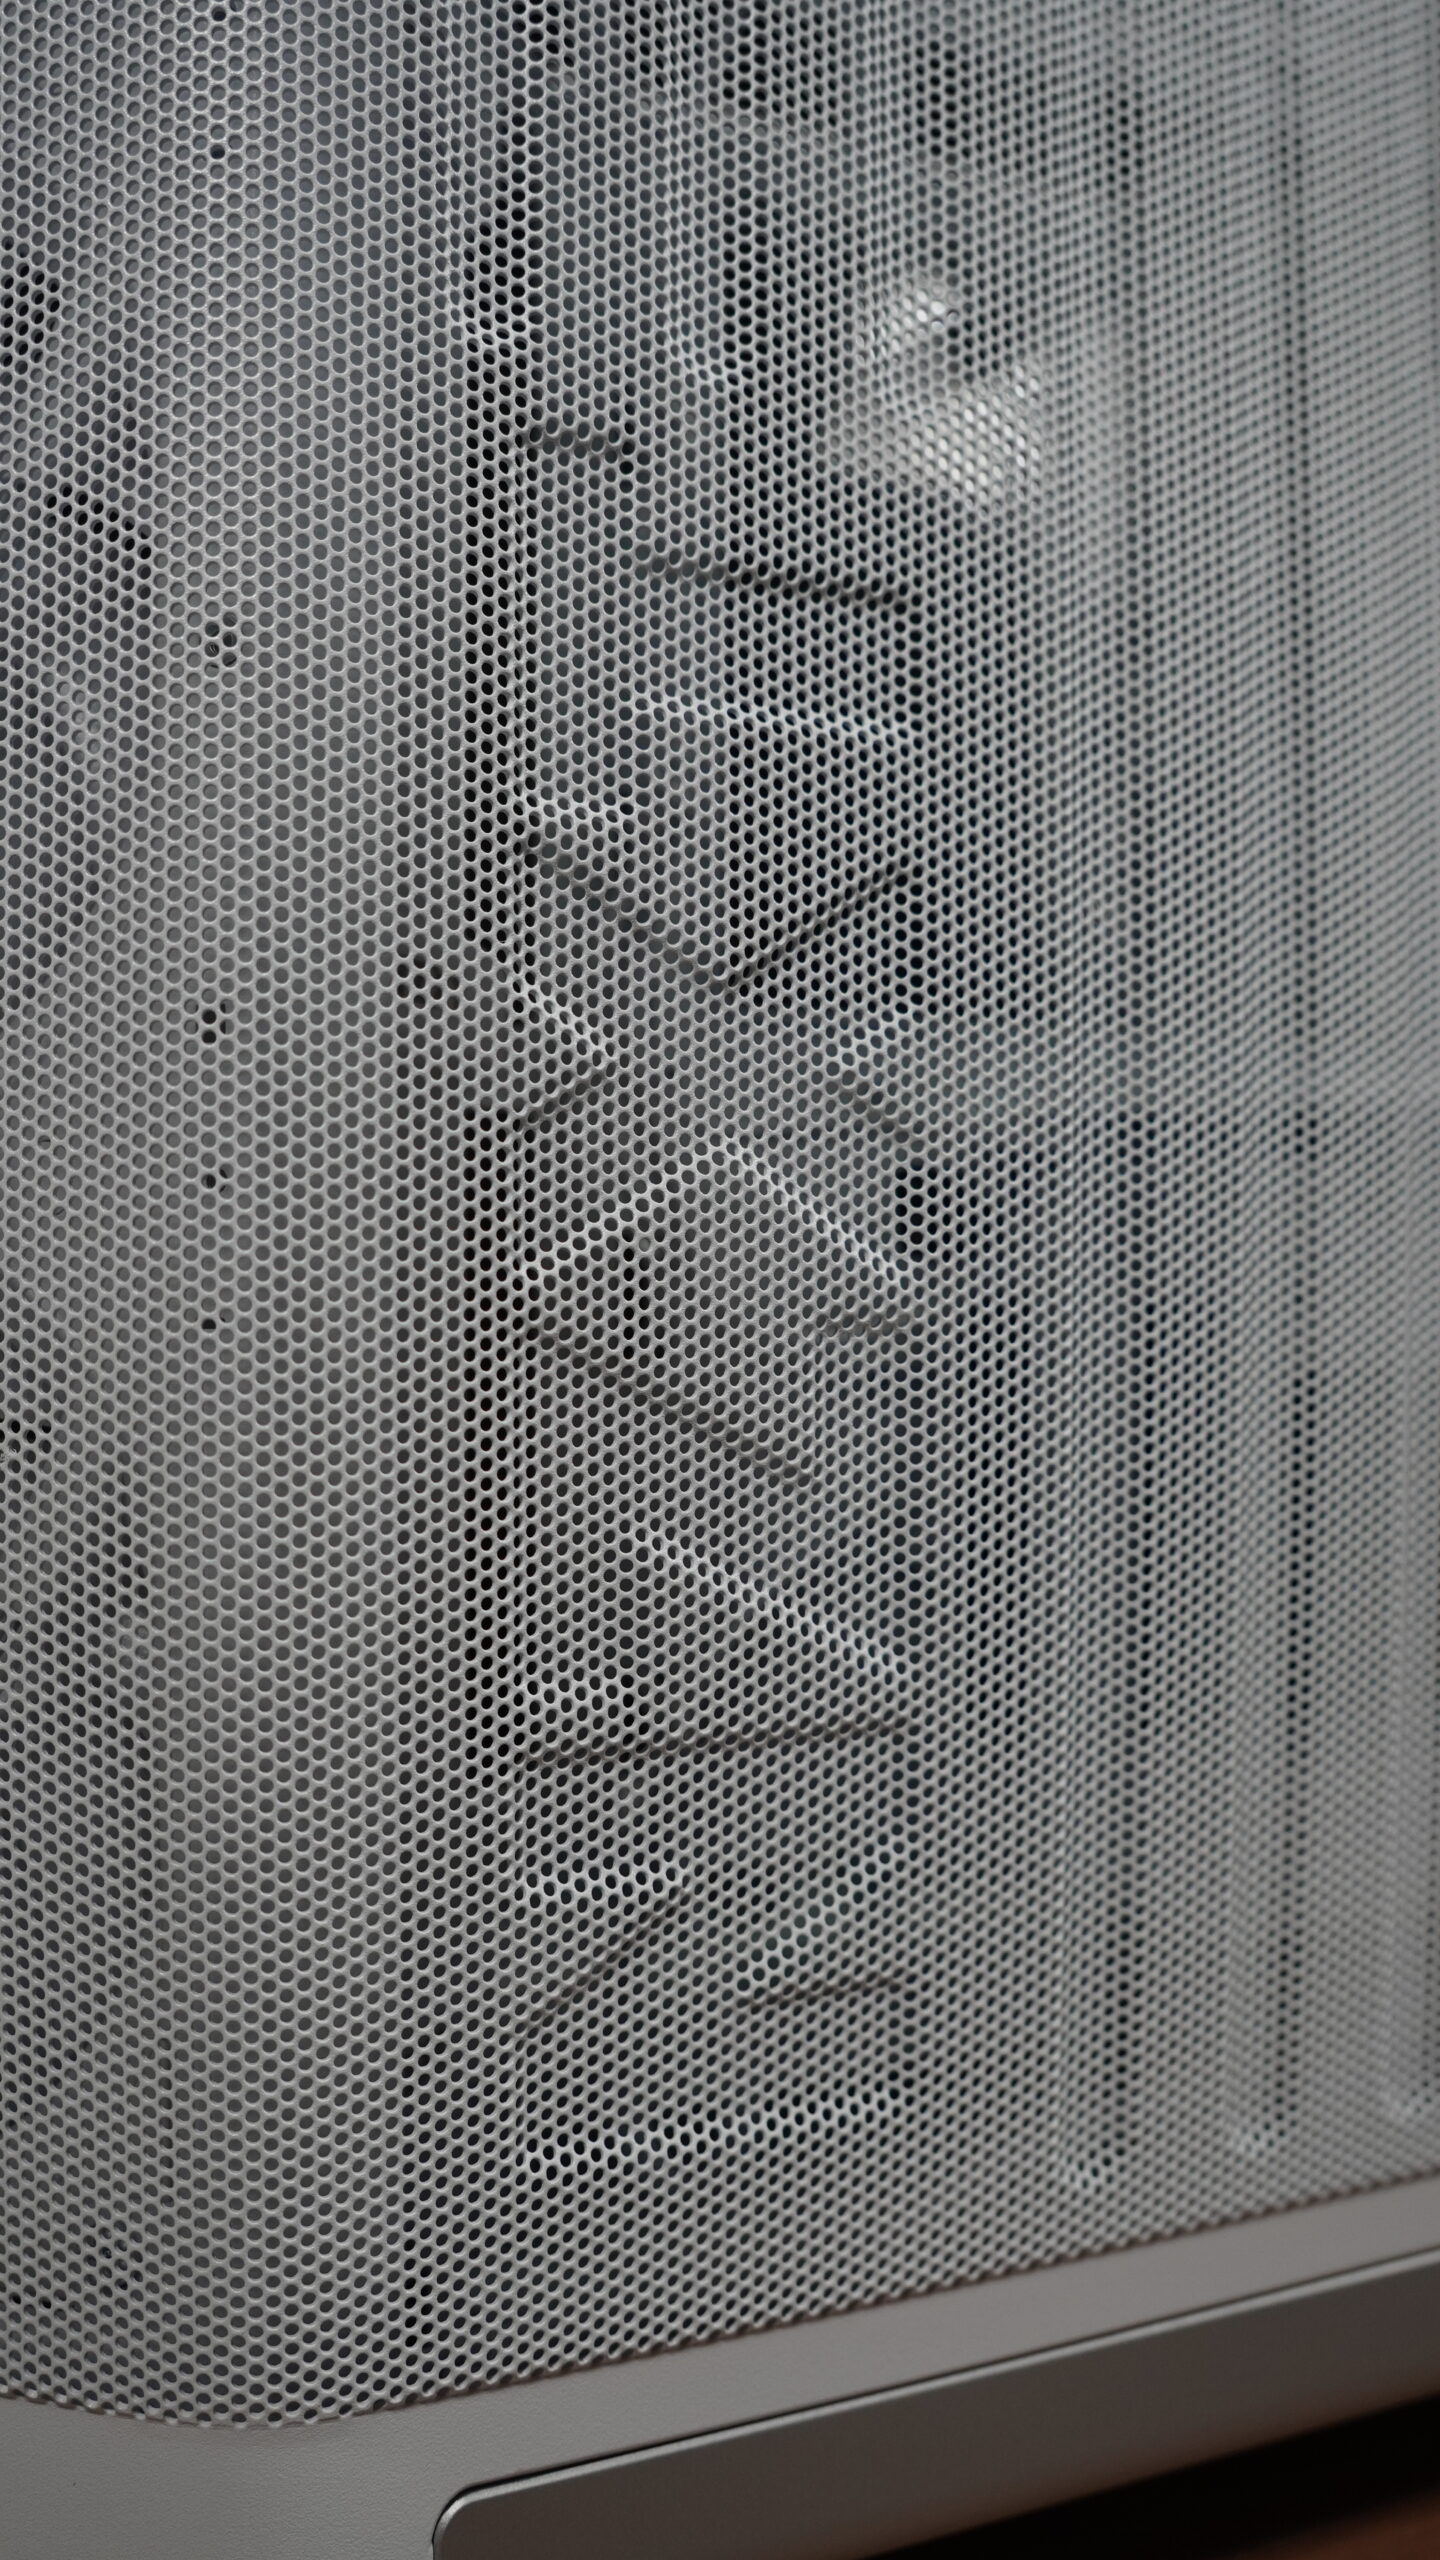
The mesh design on the side of the second chamber and the top panel also acts as a dust filter. Over time, dust will accumulate, and you can just wipe it clean with a cloth. The bottom filter, however, is a bit awkward to remove. It’s held by magnets and is a direct anti-dust filter. It’s not complicated to remove, just a bit uncomfortable, but once it’s in place, those magnets secure it to the chassis.
The Curved Glass Panel
One feature that’s becoming common in many cases is the single-piece curved glass. This is great because it eliminates the seam you’d get with two separate tempered glass panels, making the visuals much cleaner. The tempered glass is quite thick, which is good, but I’d improve the underside. There’s no protective edge around it, so if you take it out and set it down, you need to be careful. Even though it’s thick, a bad bump could crack it. I’ve had it happen with another case, not as thick as this one, but still substantial.
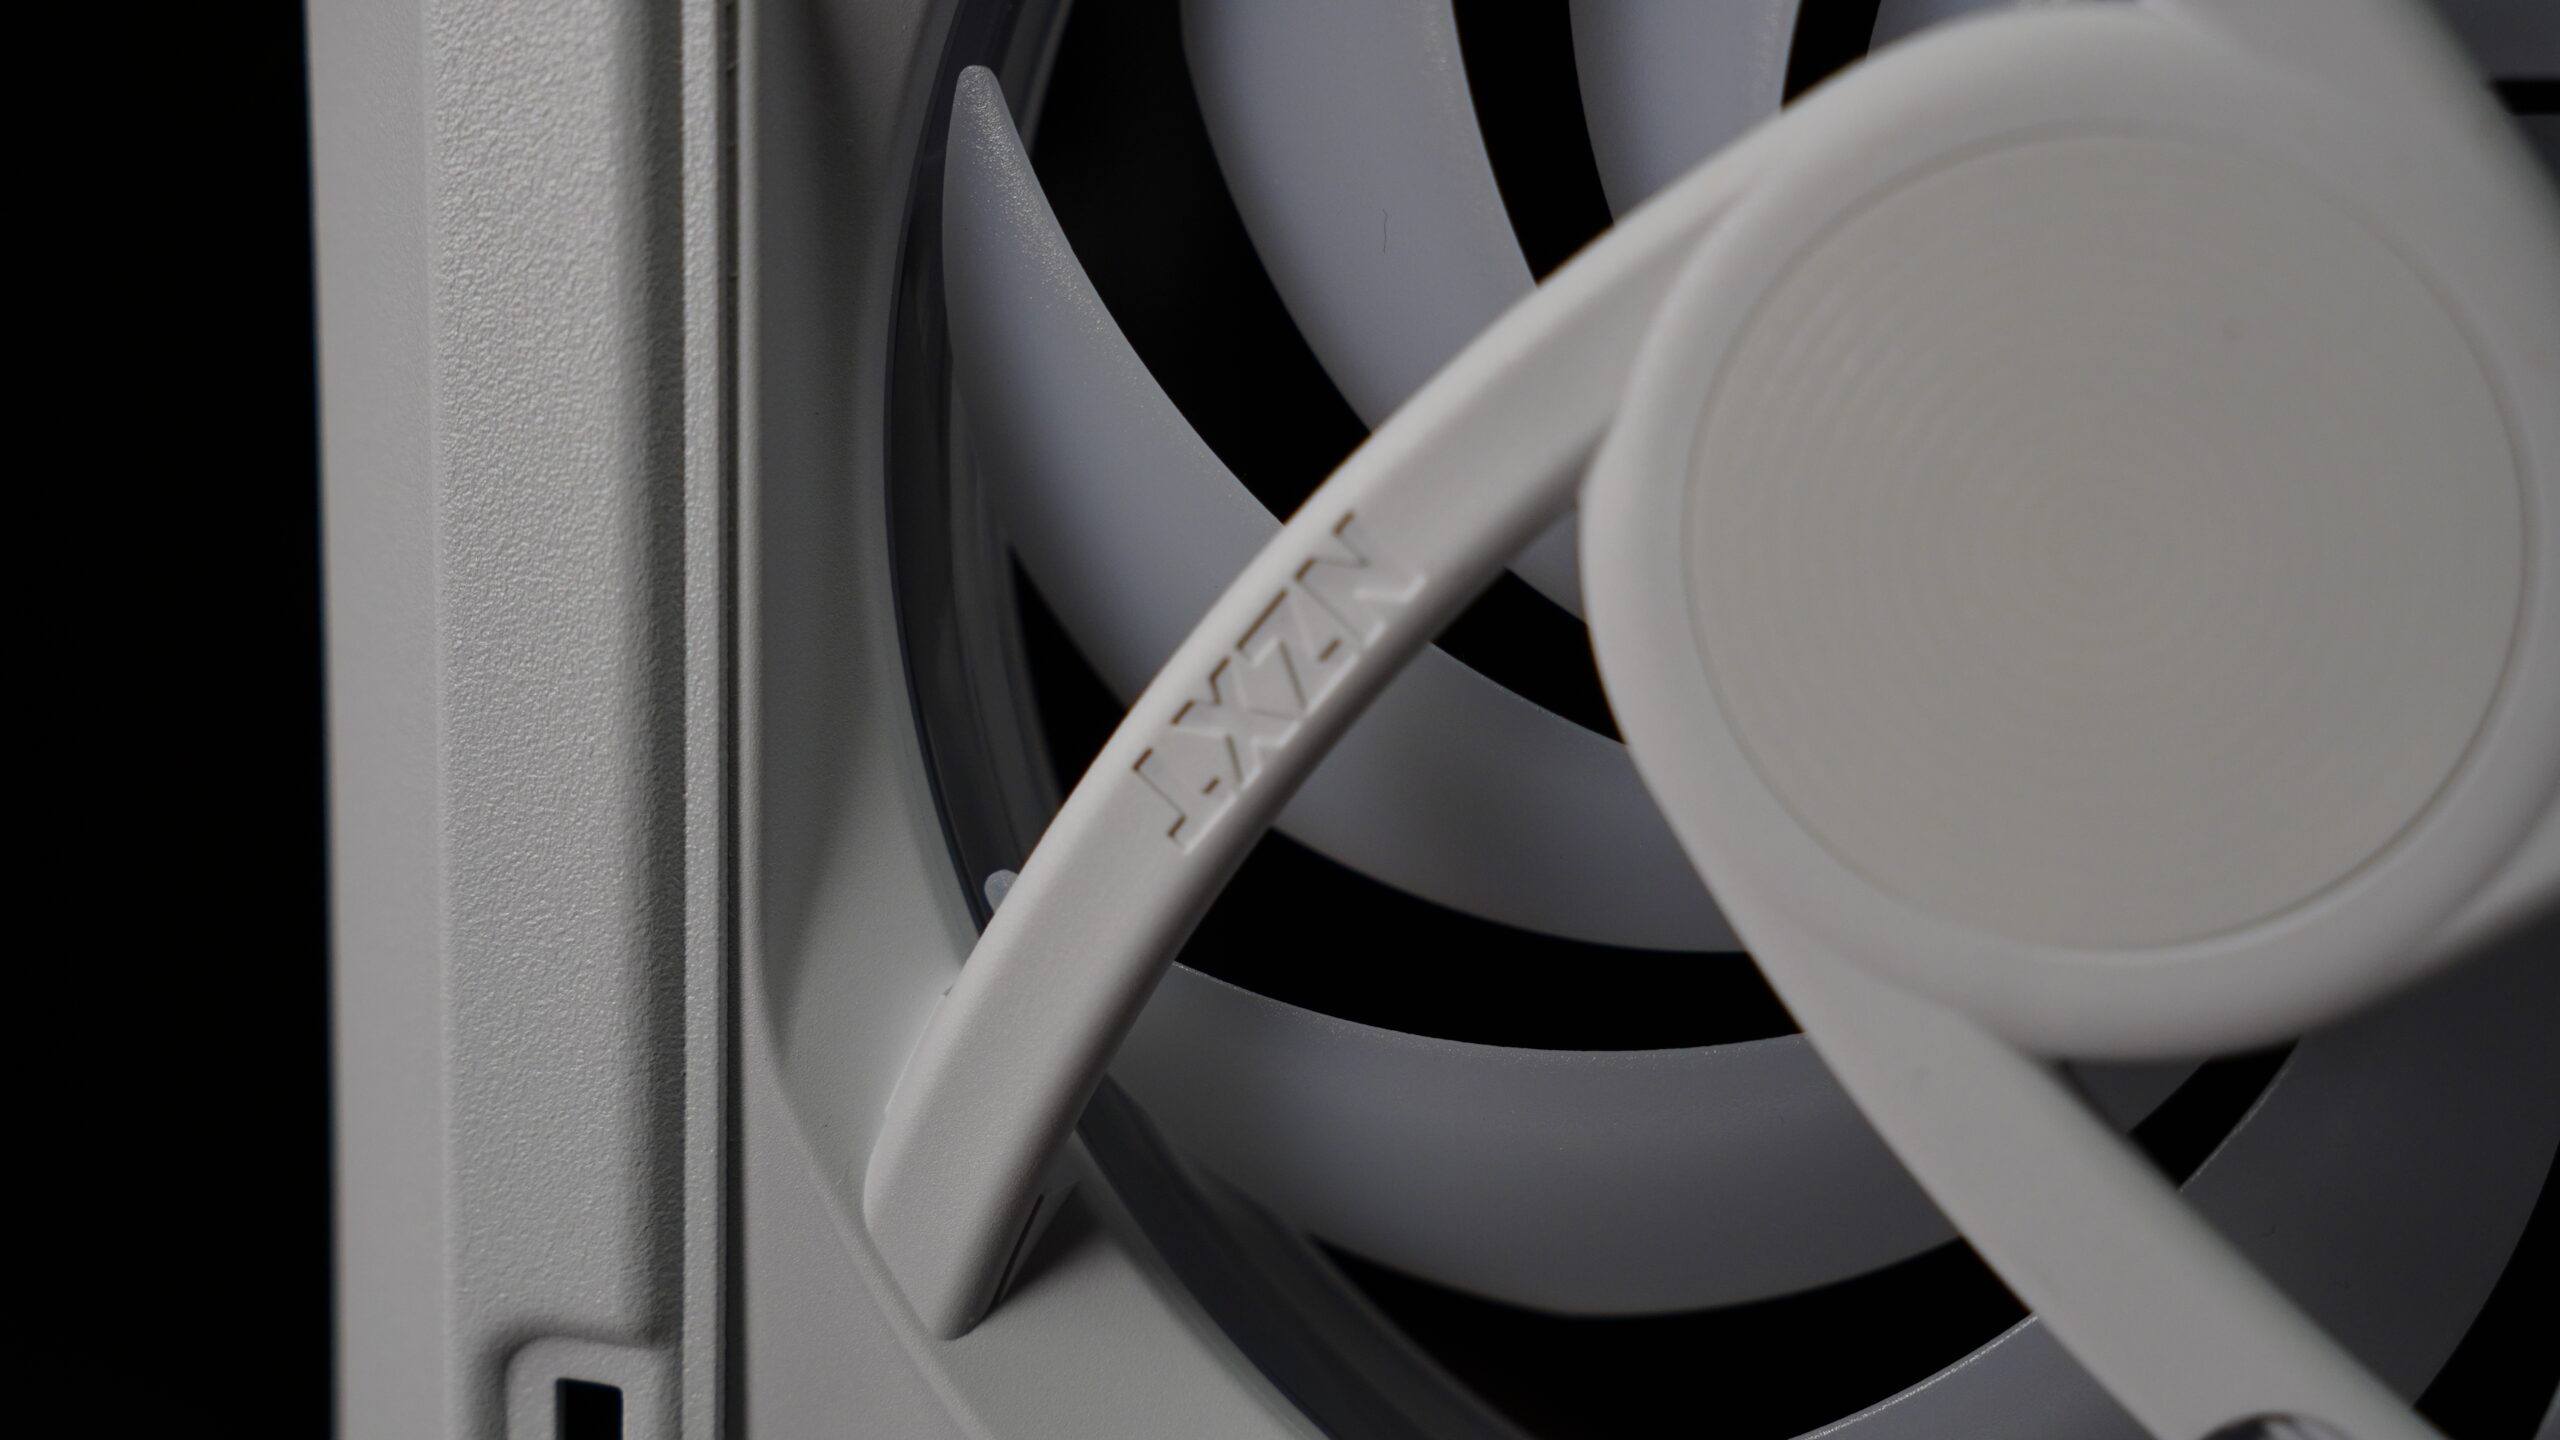
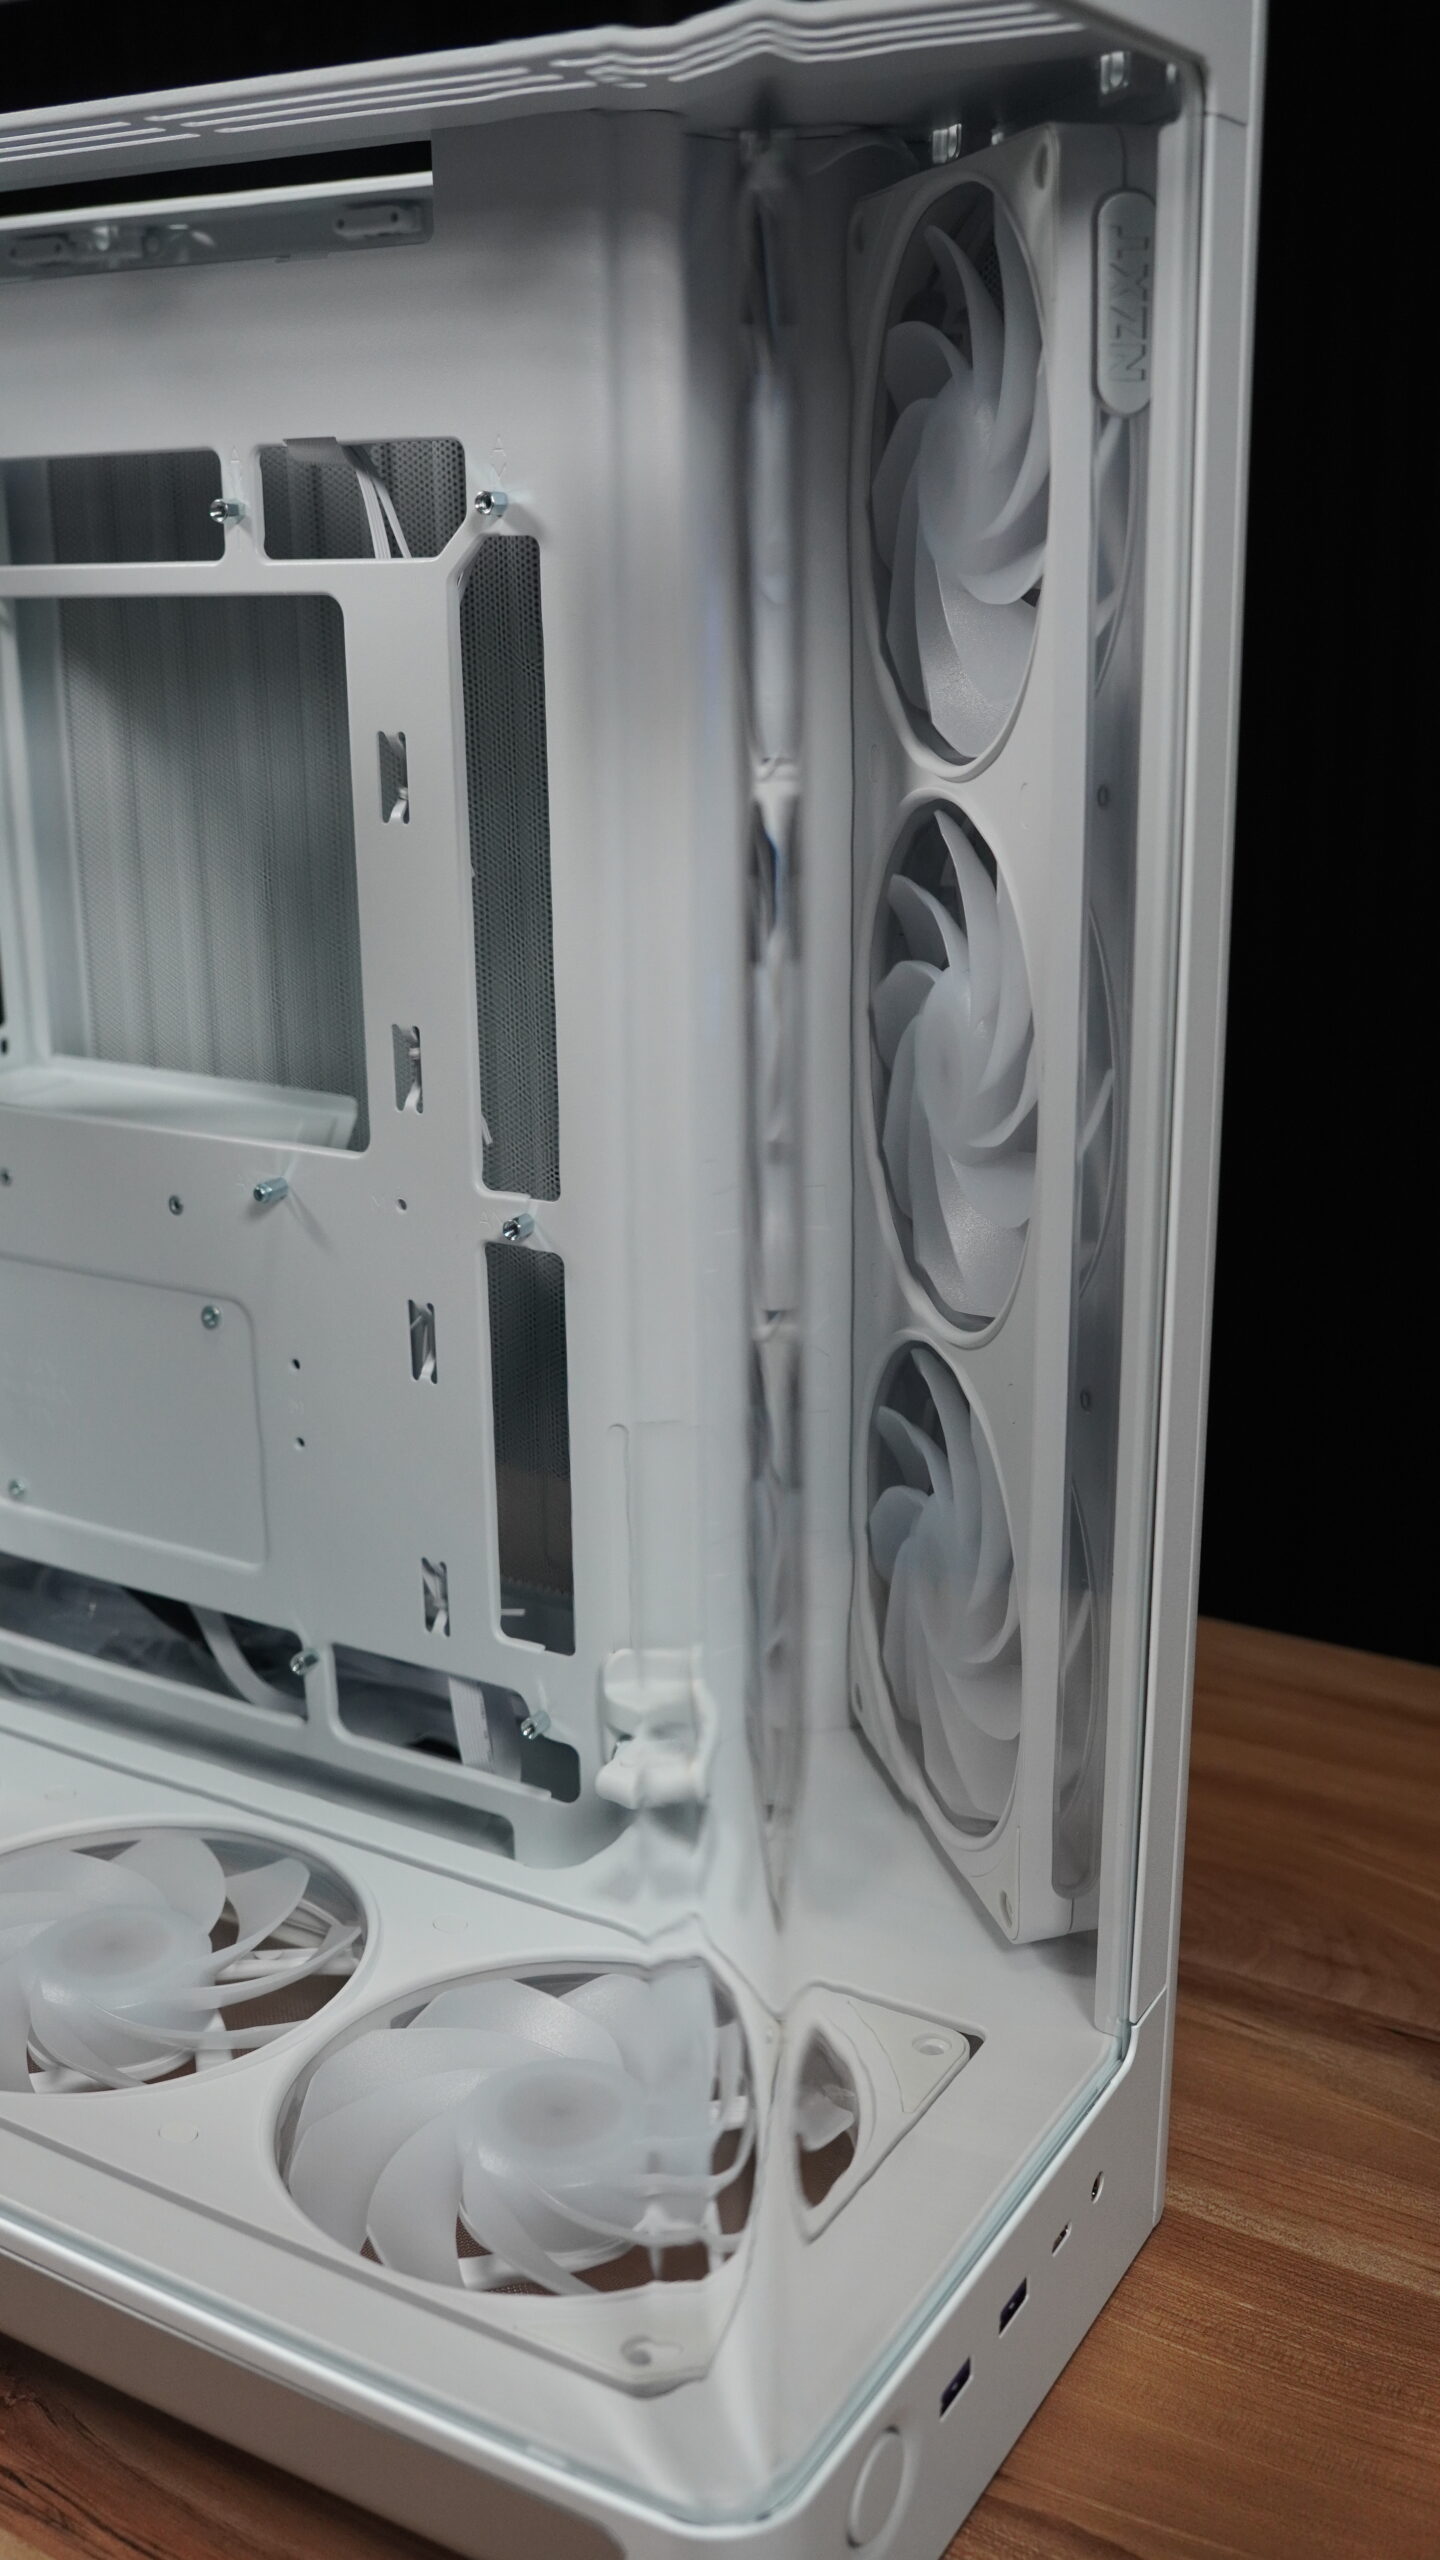
To remove the panels, you have to follow a specific order. First, pull the top panel upwards, and it comes right off. Then you can remove the glass panel, or the rear panel, or the side panel of the dual chamber. To remove the glass, you just pull it towards you. Be careful though, as there’s nothing to lock it in place, so it could fall if you’re not holding it. The front and top edges have metal to fit into the chassis, but the bottom lacks this protection. Dropping it hard on the floor could definitely break or at least crack the glass.
Build Quality and Aesthetics
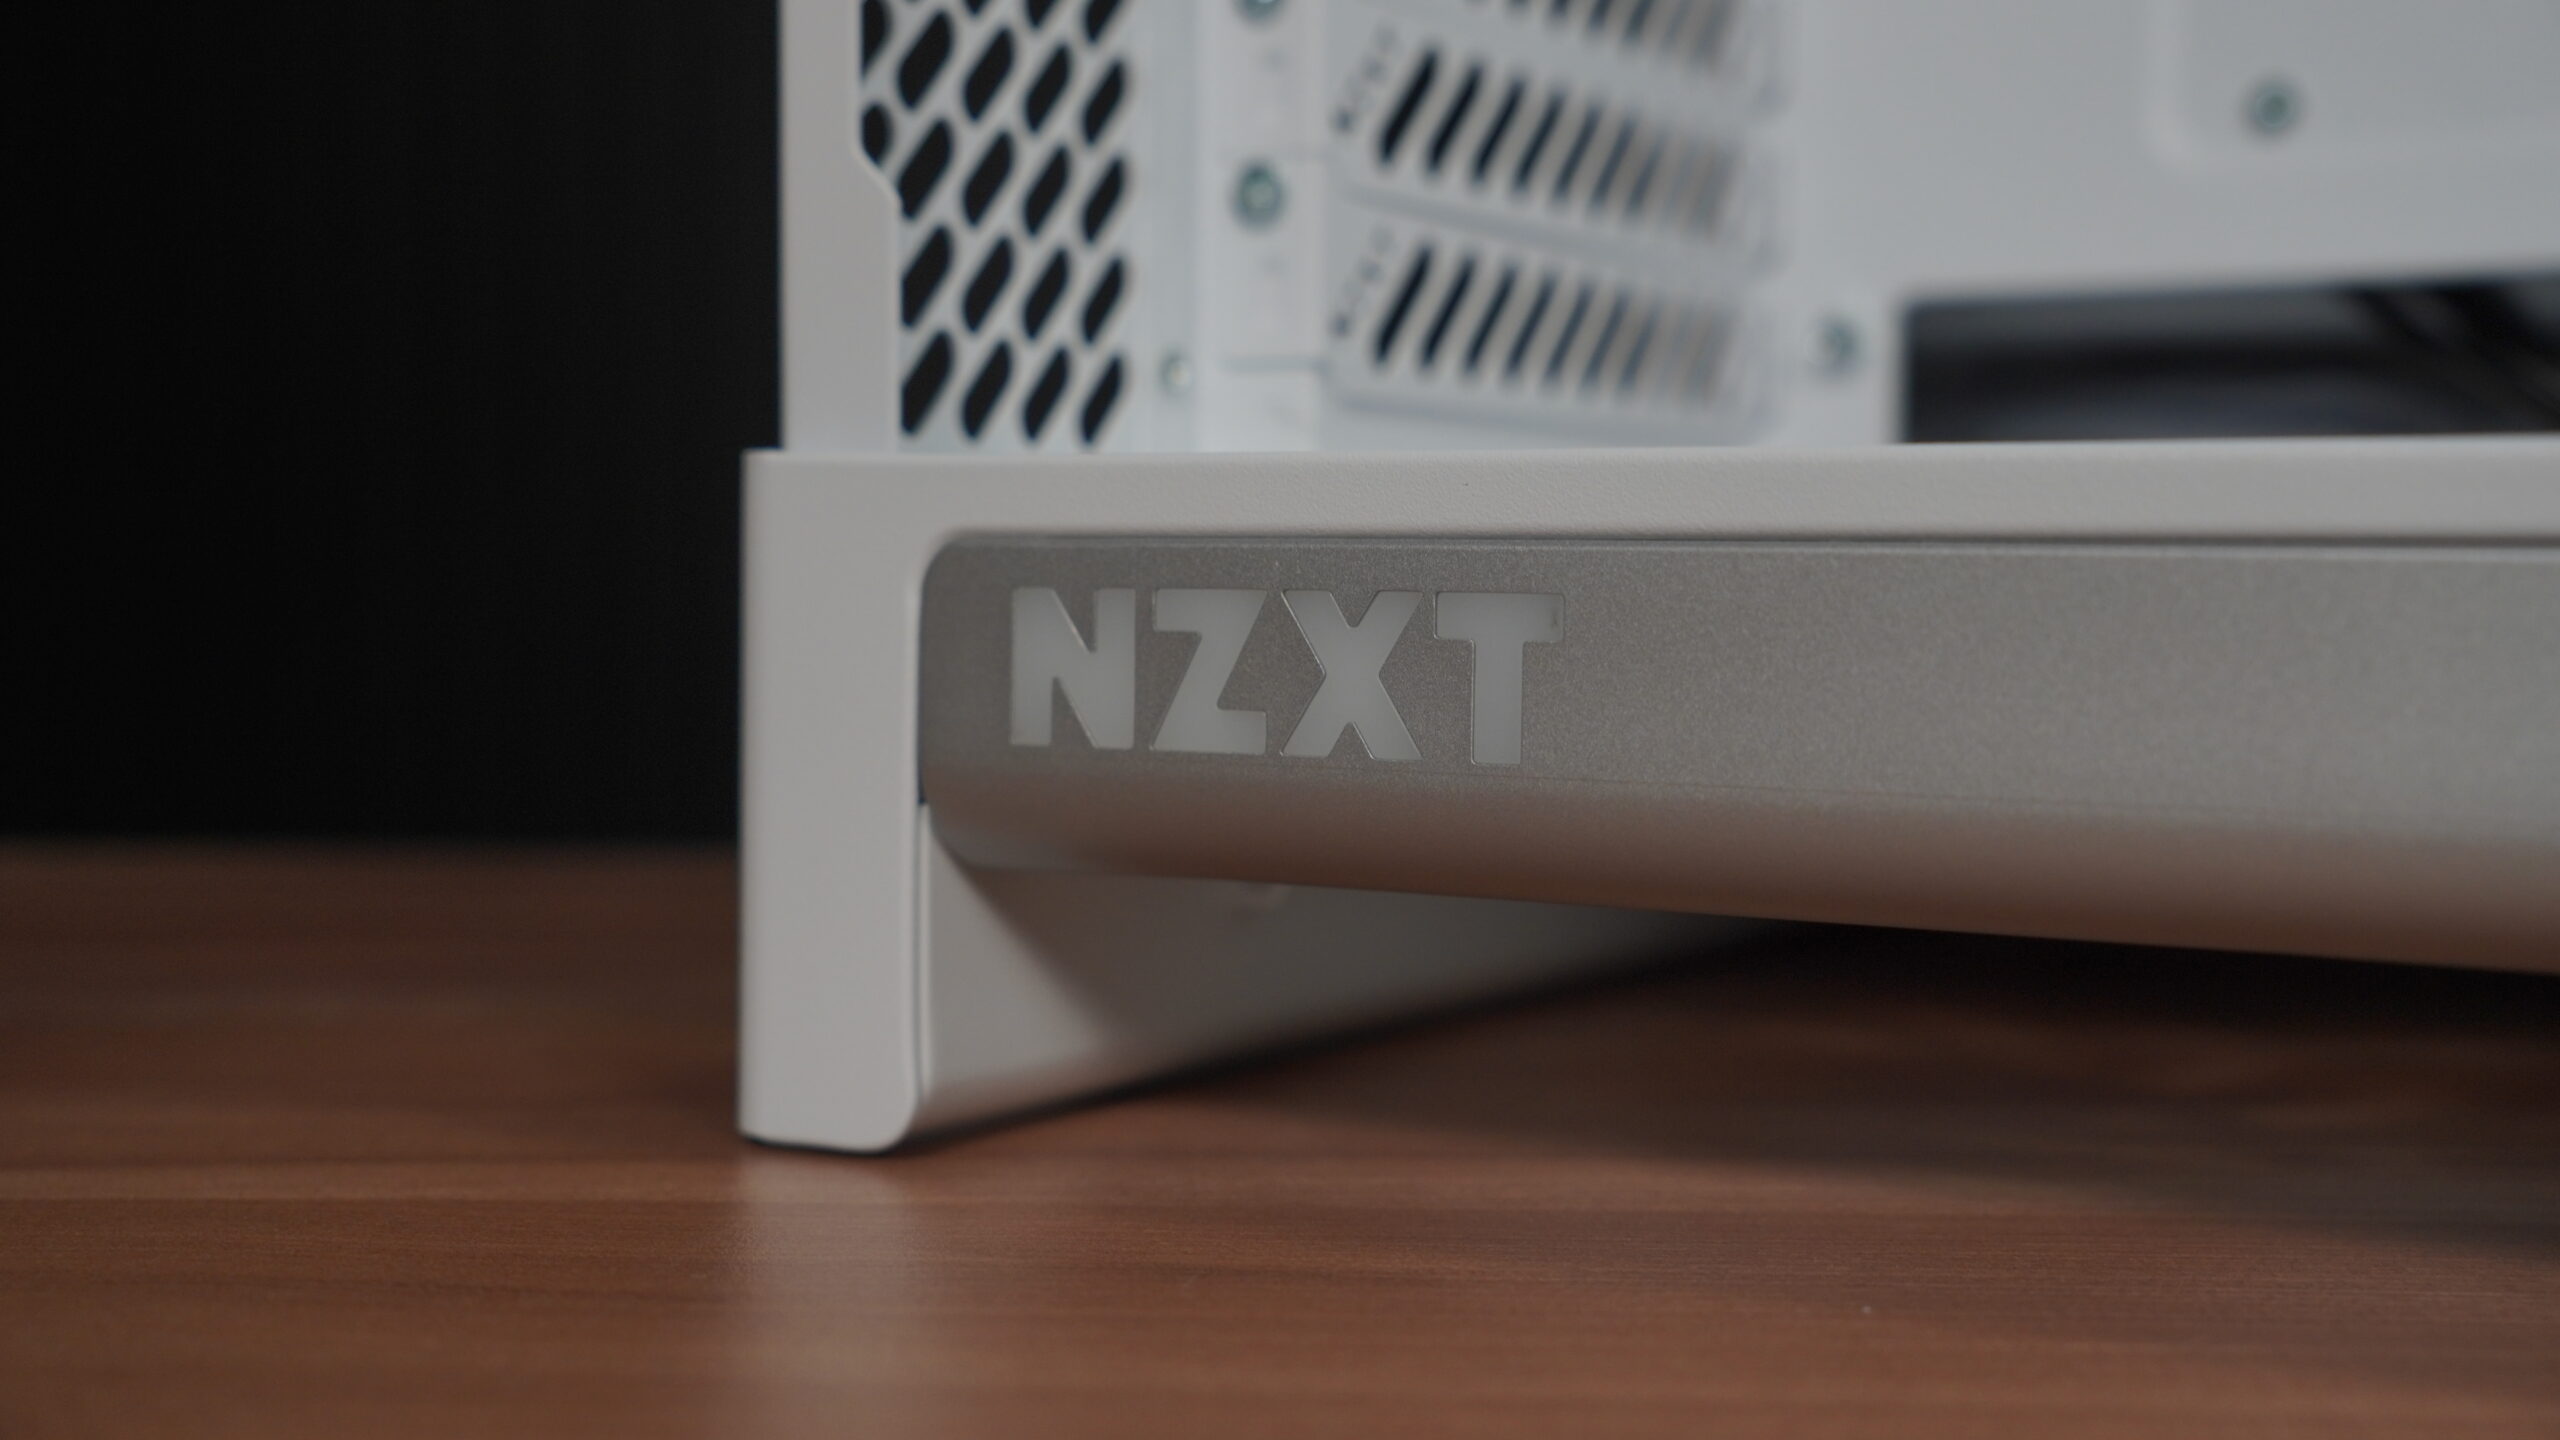
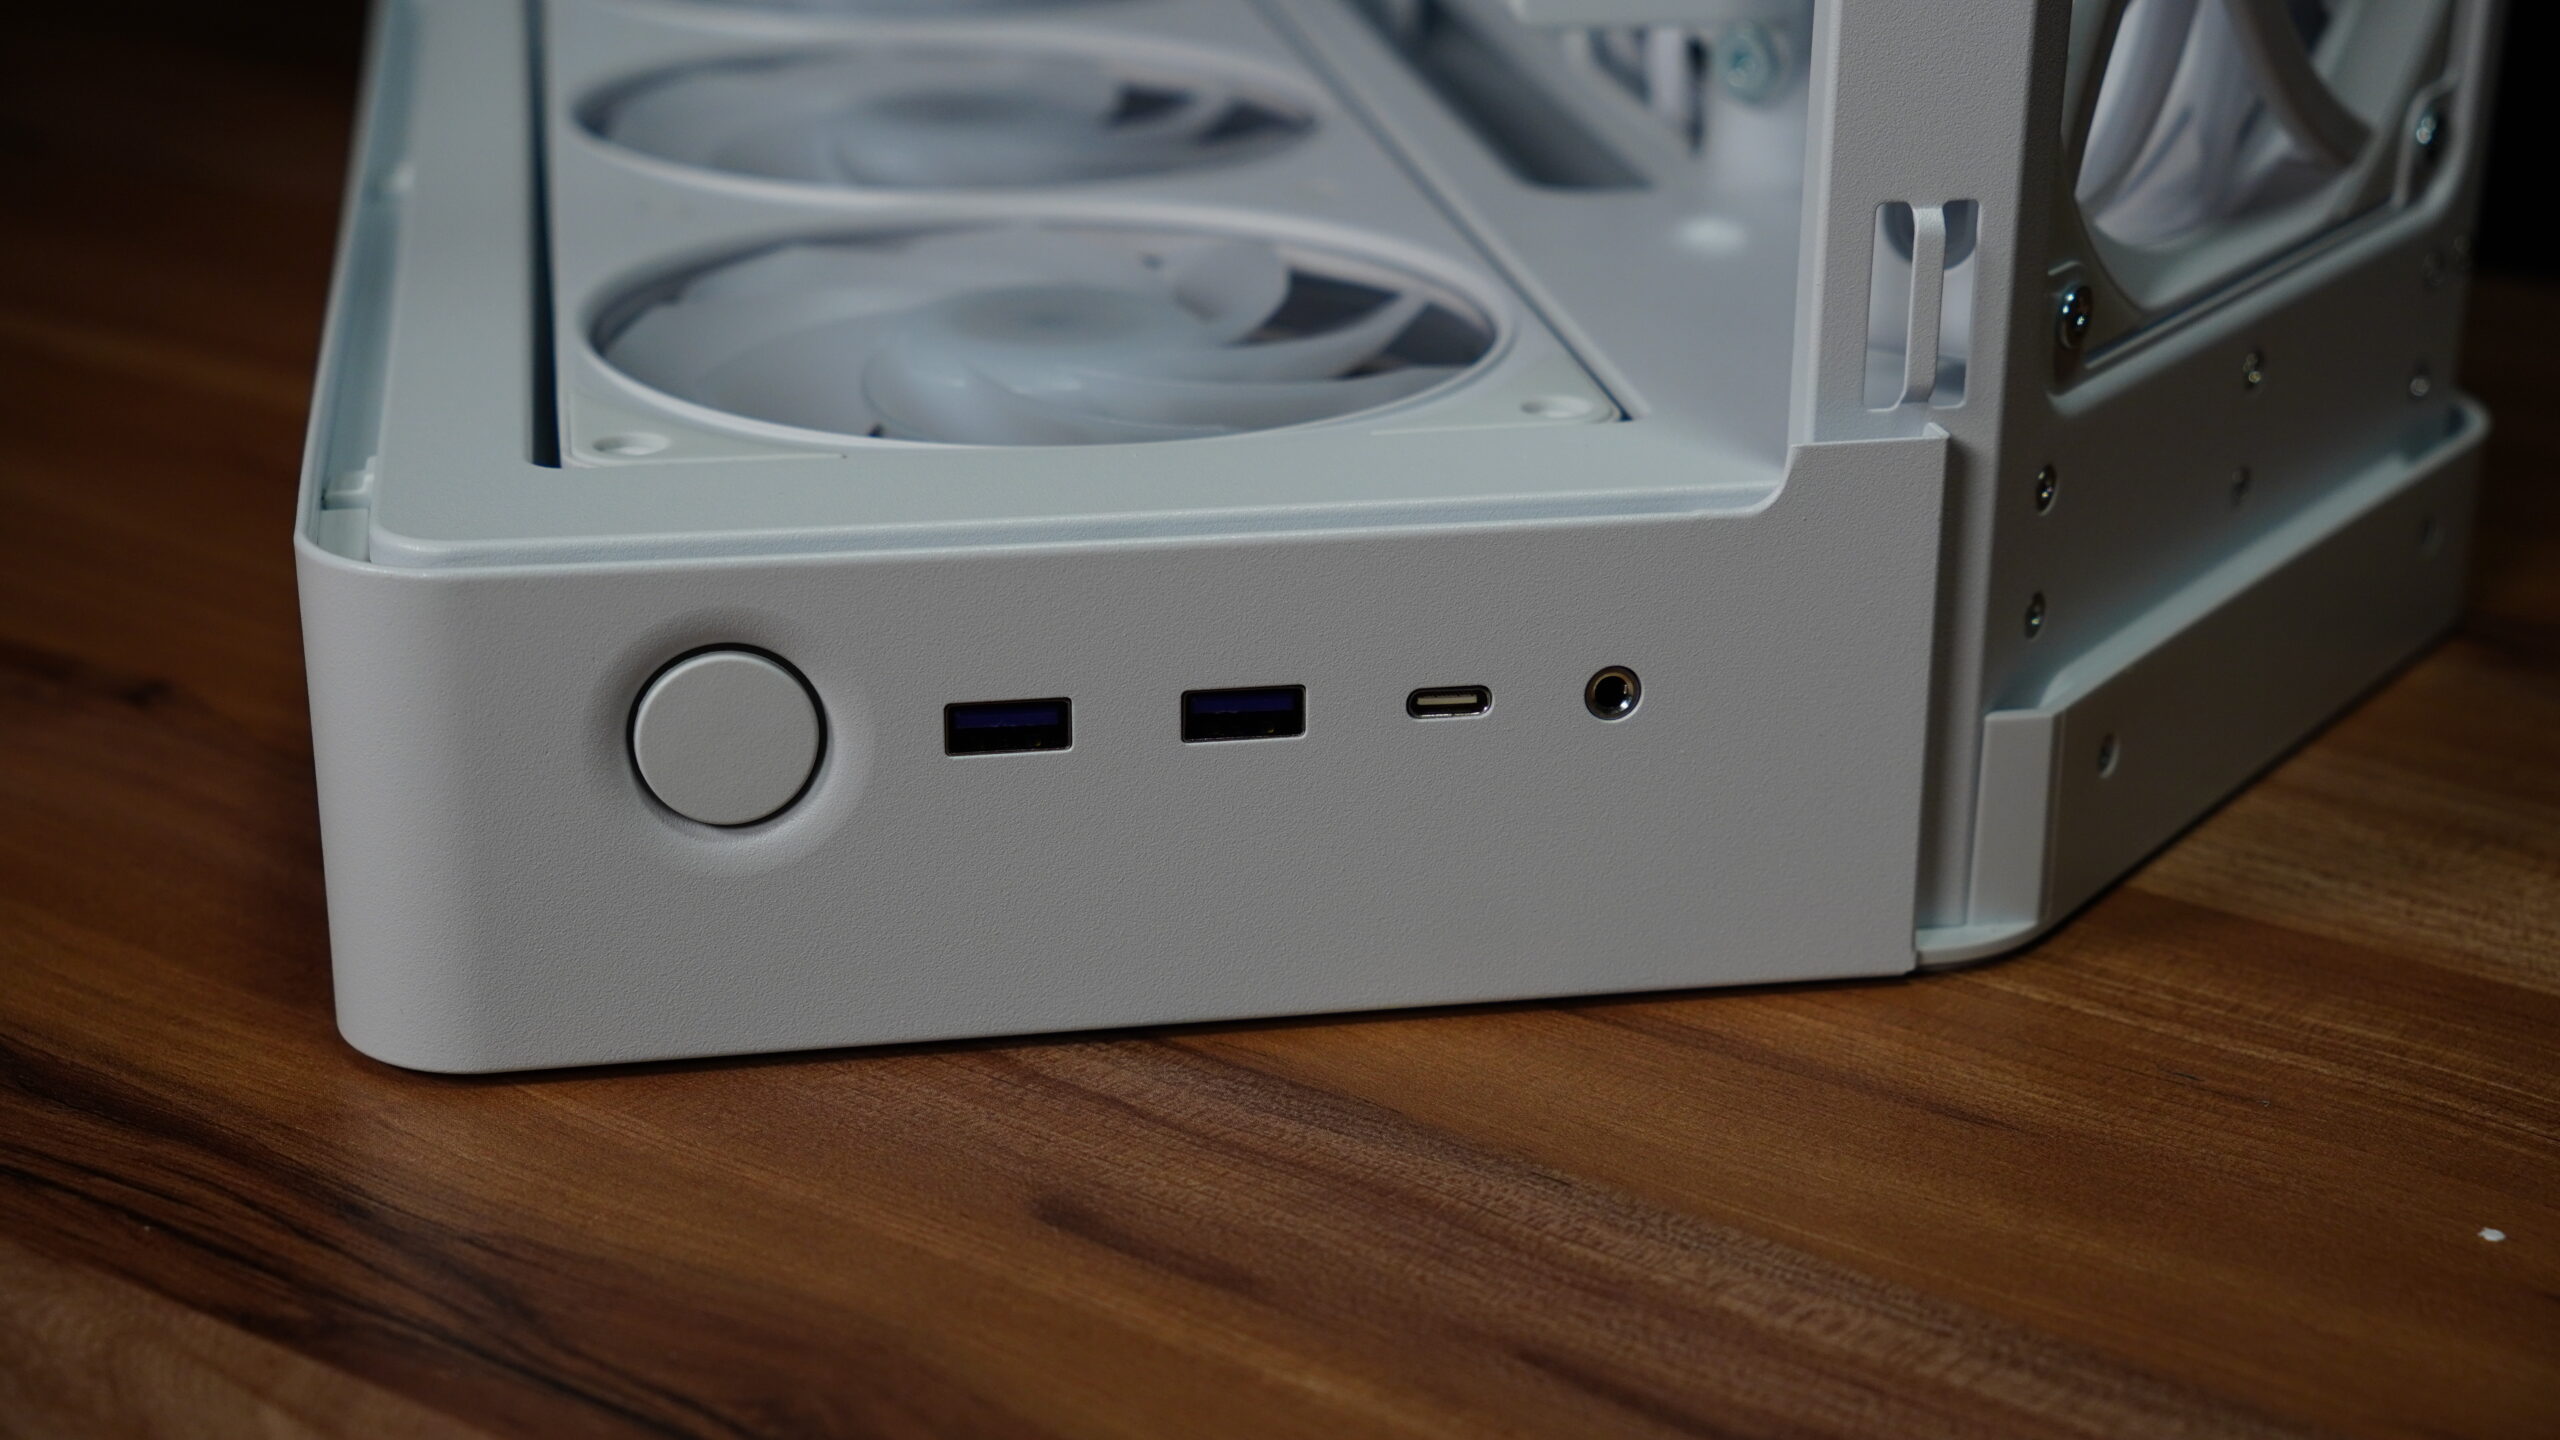
NZXT consistently delivers excellent finishes. There are no sharp edges to cut yourself on, no misplaced screws or rivets, and the paint is uniform. This model features a nice gray accent and the NZXT logo, which lights up in white when everything is connected. The back also has a gray detail. At the bottom, you’ll find the power button, two USB 3.2 Type-A ports, one USB 3.2 Gen 2 Type-C port, and a headphone jack.
Cooling and Fan Configuration
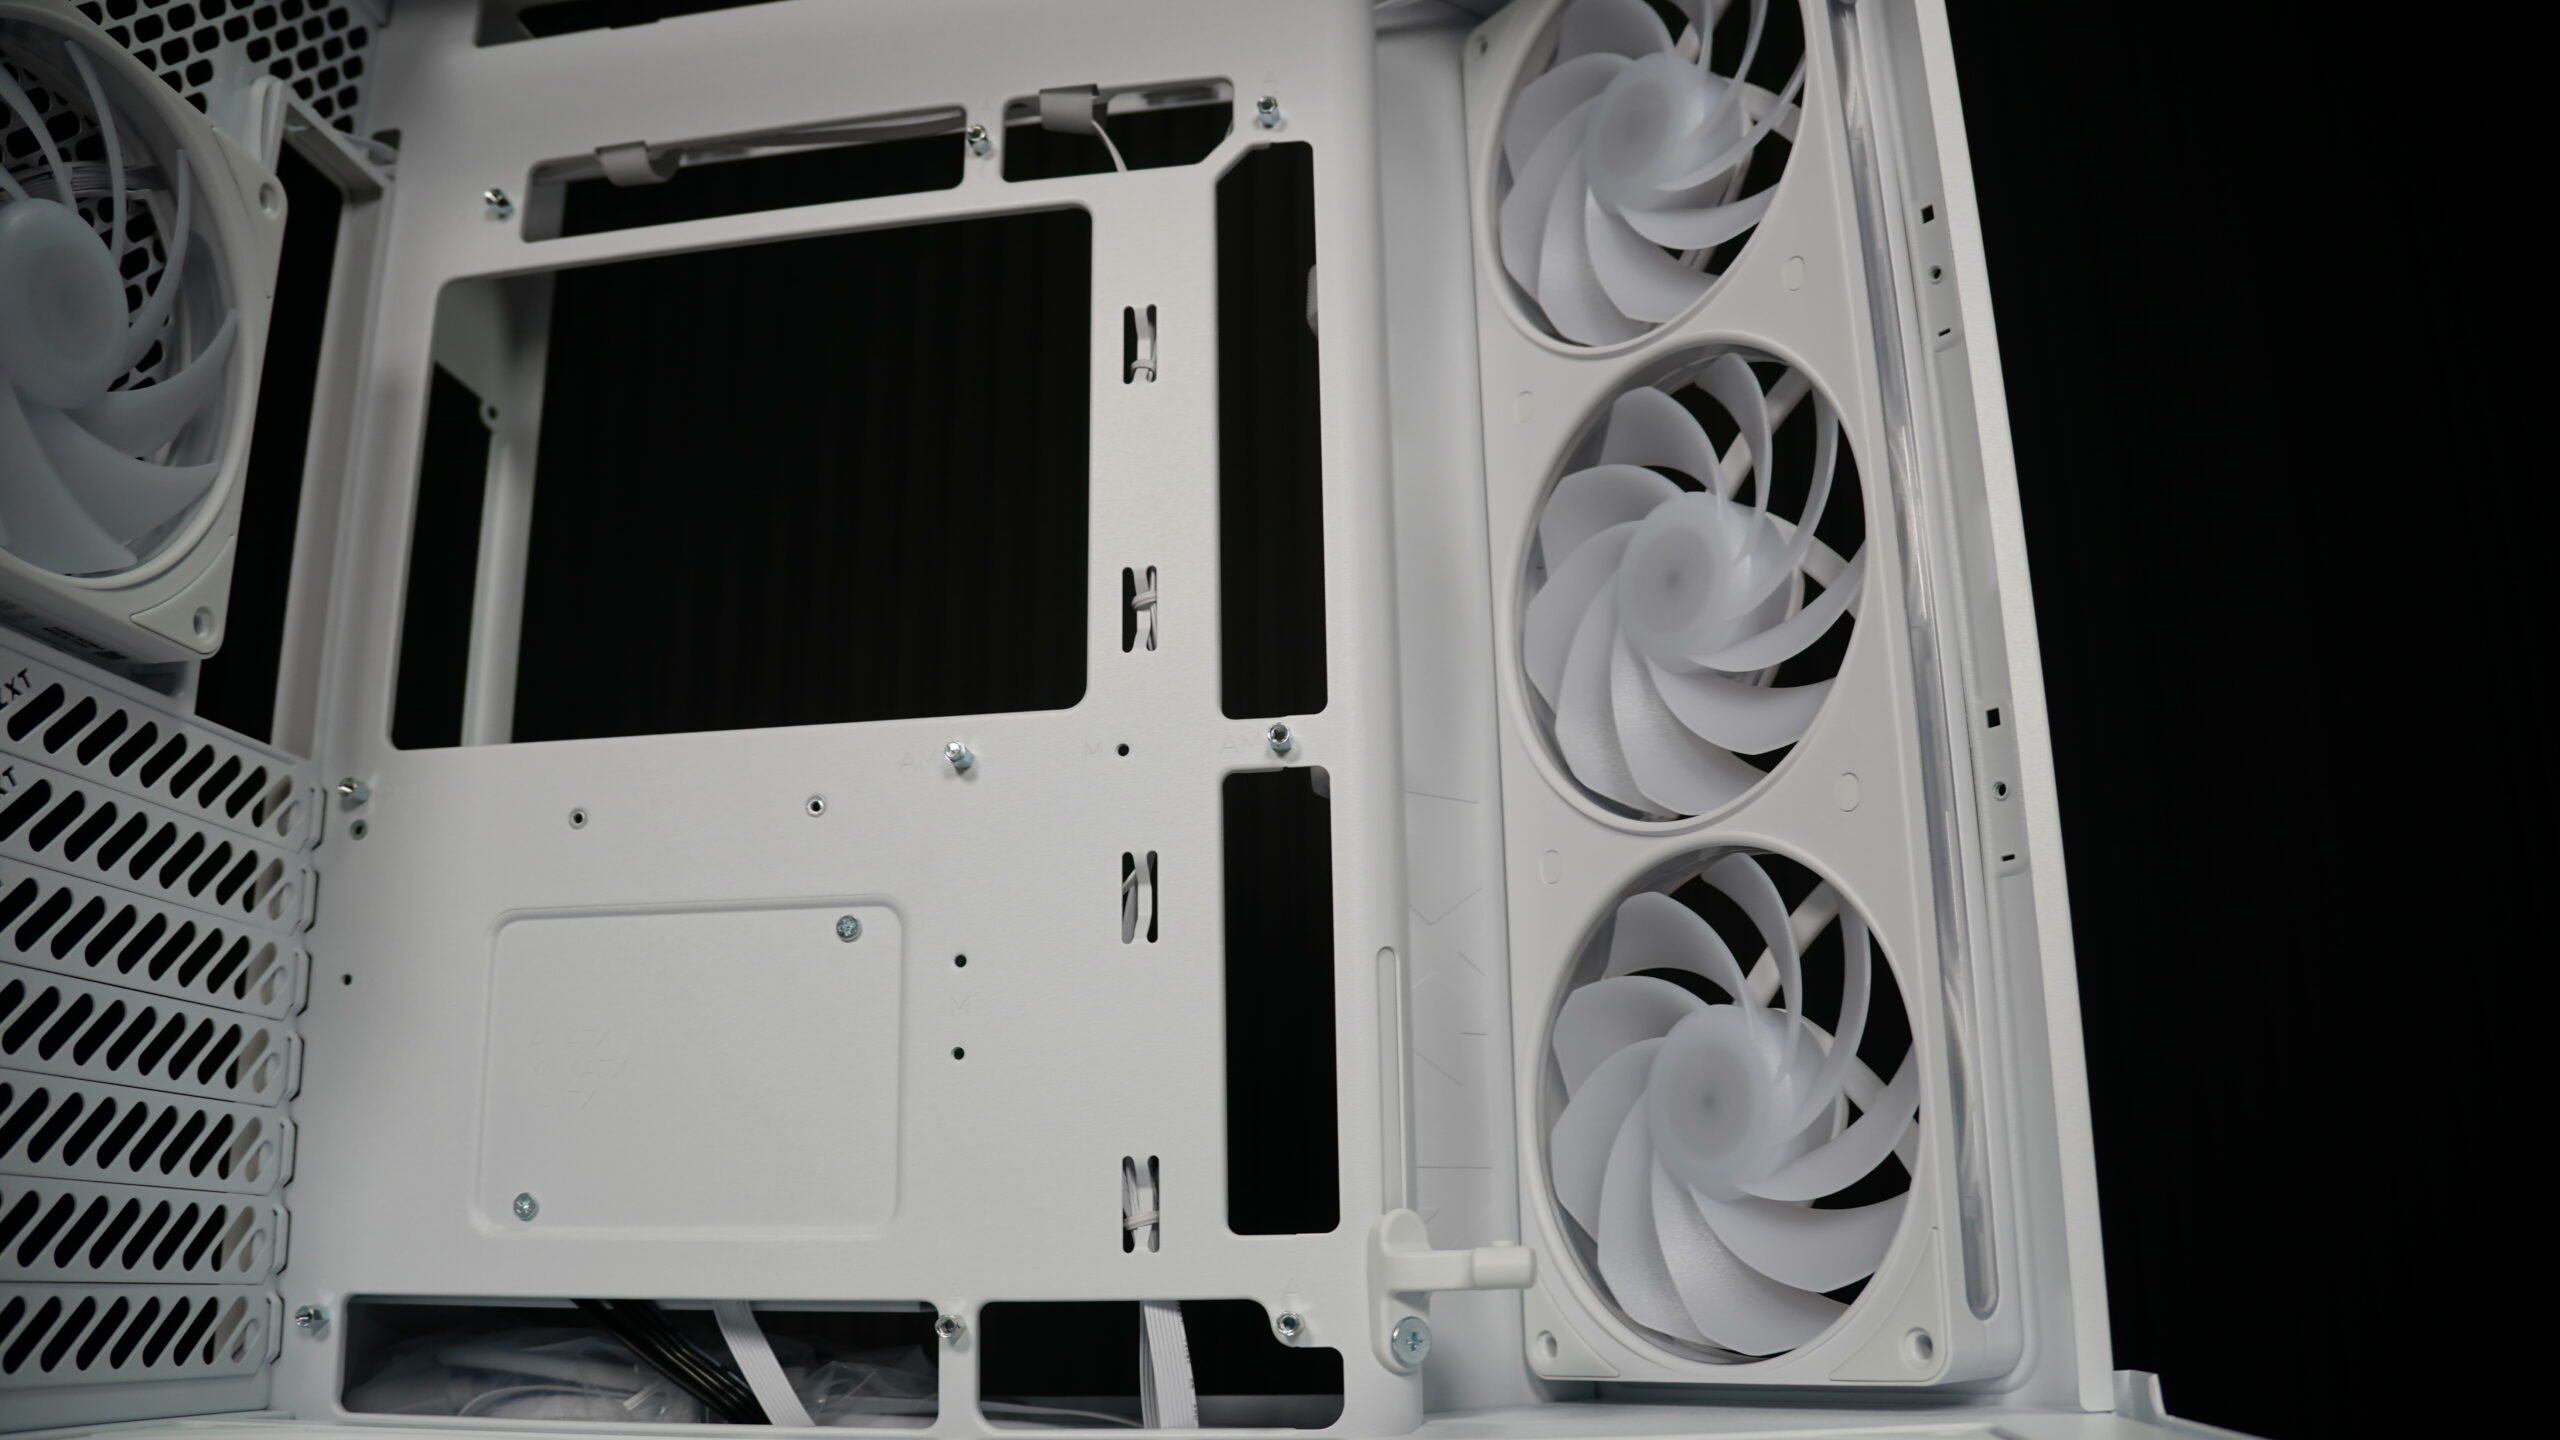
The NZXT H6 RGB Plus comes with two 120mm RGB fans in the front and one 120mm RGB fan in the rear. This case supports up to ten 120mm fans: three in the front, three on top, three on the bottom, and one in the rear. For liquid cooling, however, it feels a bit limited. It only supports radiators up to 360mm on the top and 120mm on the rear. You can’t install any radiators on the front or bottom.
Storage and Cable Management
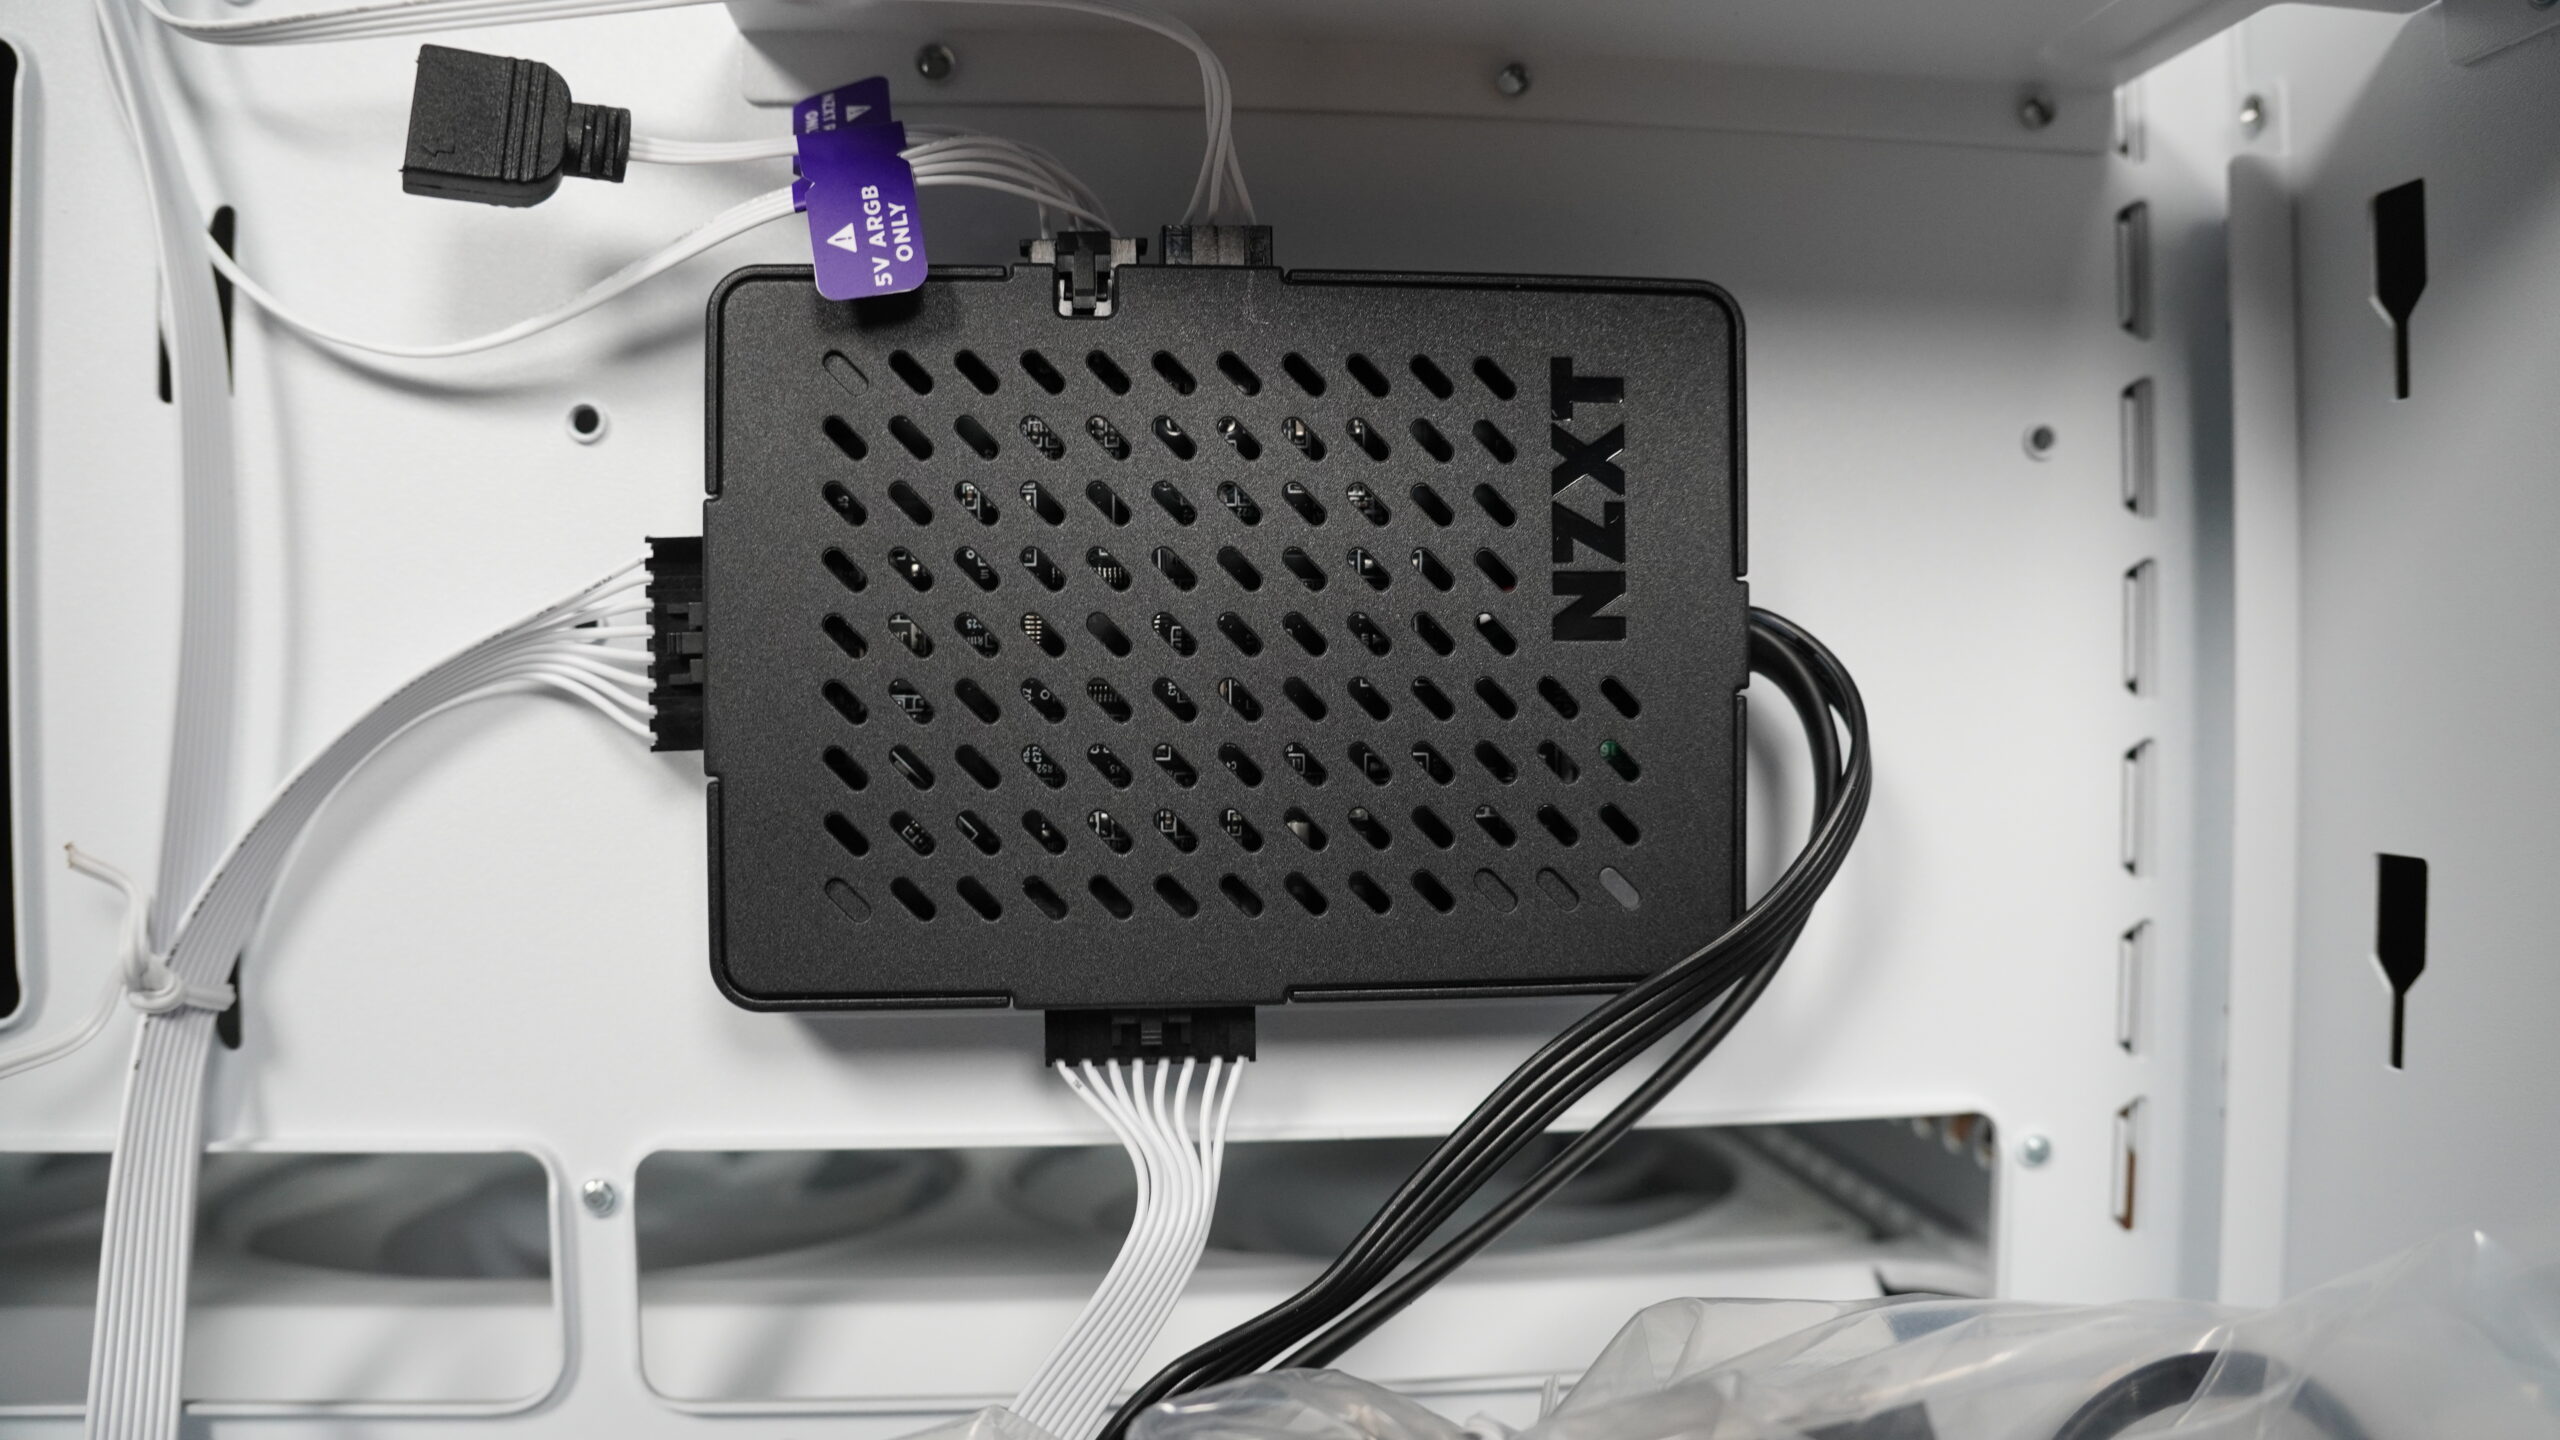
The second chamber includes a drive bracket that supports two 2.5-inch SSDs and one 3.5-inch HDD. This bracket is easily removed by unscrewing a single screw and pulling it up. The SSDs mount on the outside, and the 3.5-inch HDD goes inside. A pleasant surprise was the inclusion of an RGB hub, which powers and controls the lighting for the two front fans and the rear fan. This is a significant plus, especially considering the overall package.
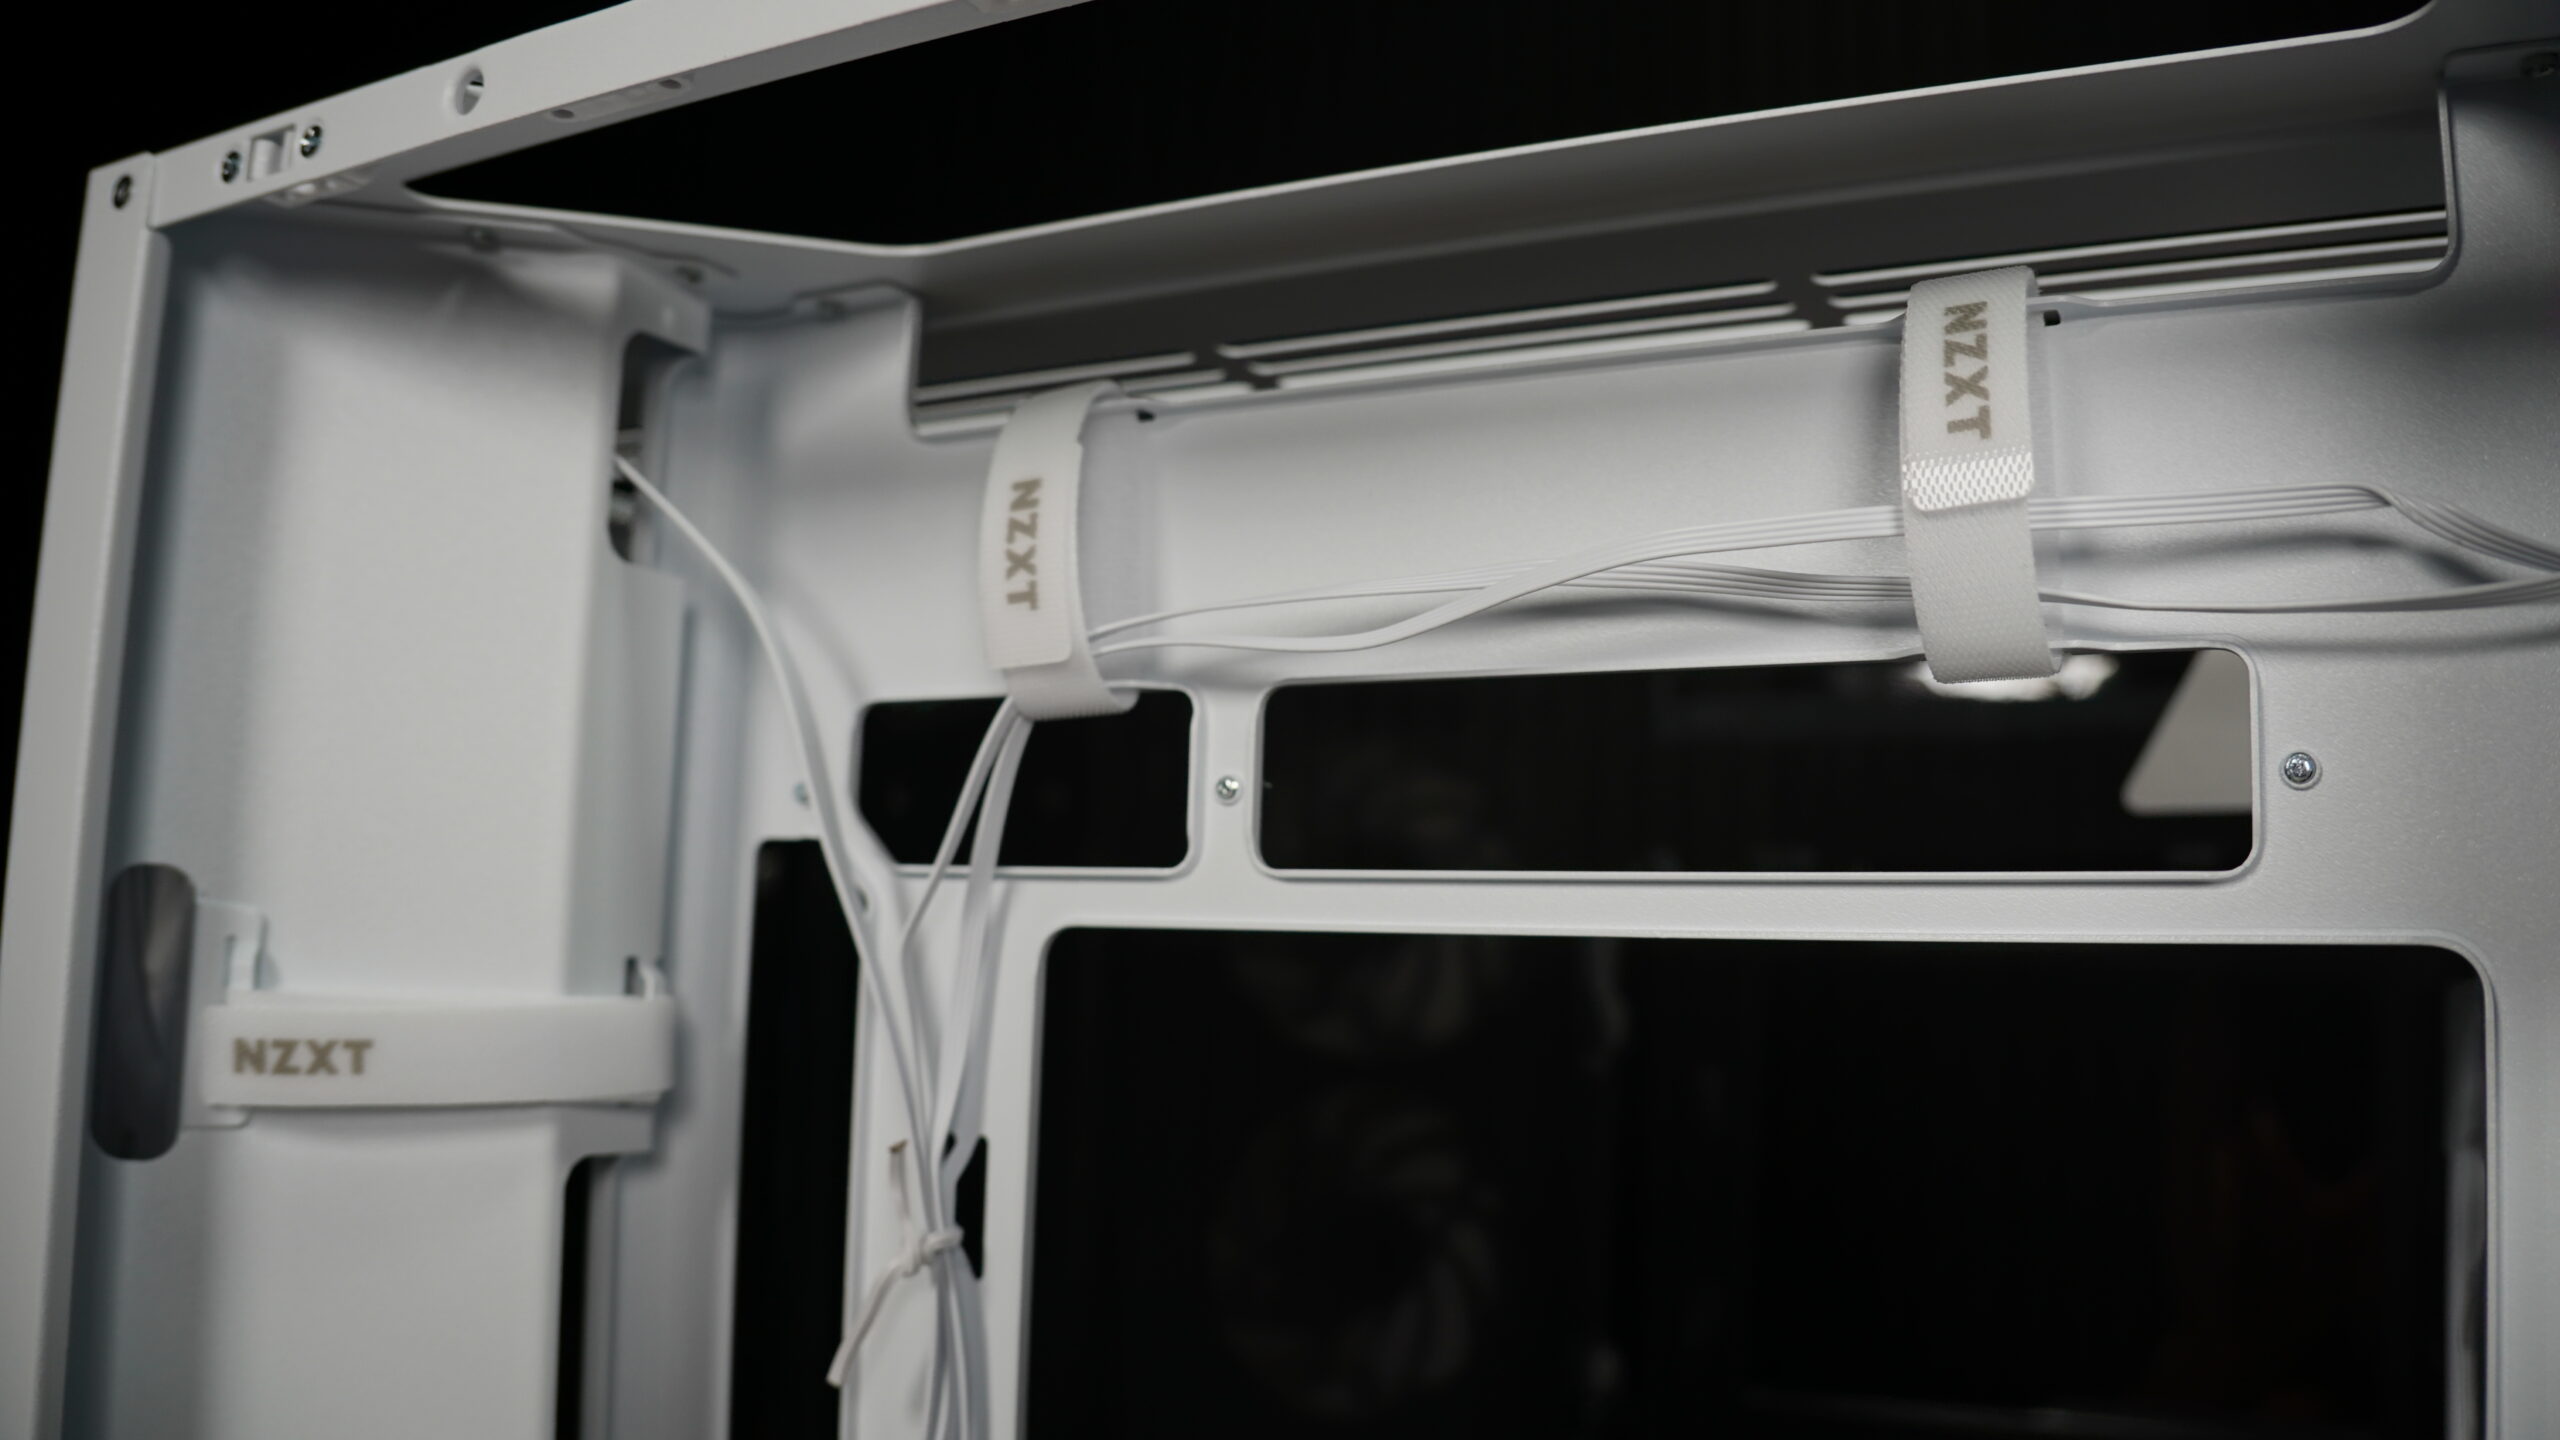
The case also features cable management guides. While dual-chamber designs are popular for separating the power supply and reducing cable clutter, I’ve found that the temperature difference isn’t huge. In my own tests comparing dual-chamber and single-chamber cases, I only saw a difference of one or two degrees. If a dual-chamber case significantly increases the price and you’re on a tight budget, a single-chamber might be a better choice unless you’re heavily overclocking daily. For typical use like editing or gaming, the price difference for minimal temperature gains isn’t worth it.
Motherboard and GPU Compatibility
An interesting feature of the NZXT H6 RGB Plus is its compatibility with motherboards that have rear-facing connectors, like ASUS BTF or MSI Project Zero boards. The cutouts are specifically designed for these ATX-sized motherboards. It’s crucial to check your motherboard’s size, as smaller boards won’t align correctly with these cutouts. The case also includes a built-in GPU support bracket. Instead of using external adapters, this integrated support is adjustable with a screw, preventing your graphics card from sagging over time. It’s a thoughtful addition that protects your components.
Assembly and Noise Levels
Overall, assembling components in the NZXT H6 RGB Plus is quite easy. While you always need to be organized to avoid reconnecting things multiple times, this case made the process straightforward. My only suggestion for improvement would be to slightly widen the space for thicker cables, like GPU power cables or those with special connectors under the motherboard, especially when not using a rear-connector motherboard. This would make routing a bit more comfortable. However, installing the radiator leaves plenty of room to maneuver and route CPU power cables, so the overall installation isn’t complicated. In fact, it’s one of the easiest cases I’ve assembled.
The case’s design focuses on directing airflow from the front fans onto the hottest components, like the GPU and CPU. The integrated GPU support works well, preventing sag even with heavy cards. Regarding noise, the PC is practically silent at idle, which is a big plus. When under load, the fans will naturally spin up, but the NZXT H6 RGB Plus remains very quiet overall. They really delivered on their promises: large components fit comfortably without feeling cramped, even for a Mid Tower case.
H7 Flow vs H9 Flow vs H6 RGB Plus Cooling Performance
I also wanted to address a common question: does case design and size significantly impact cooling performance? I ran tests comparing the H7 Flow and H9 Flow, which are similar in volume but have different designs. I used the same components in both, with the only fan difference being a 120mm rear fan in the H9 and a 140mm in the H7. The tests were conducted with the CPU and GPU at full load, separately, with fans at maximum speed.
For the H7 Flow, the CPU hit a maximum of 85 degrees Celsius after two minutes, and the GPU reached 61.5 degrees Celsius. Noise levels were 61.4 decibels. With the H9 Flow, the CPU also reached 85 degrees Celsius. The GPU was slightly higher at 62.5 degrees Celsius. Surprisingly, the H9 Flow was louder, hitting 63.7 decibels. I expected the H9 to contain sound better, but it was about 2-3 decibels higher than the H7.
My conclusion from these tests is that, for similar-sized cases with different designs, the design itself doesn’t drastically improve cooling or sound containment. The H9’s dual-chamber design, while aesthetically pleasing and great for cable management, didn’t offer a significant thermal advantage over the H7’s more traditional layout. The main benefit of a dual-chamber case like the H6 RGB Plus or H9 Flow is the visual appeal and cleaner component display, not necessarily better temperatures or quieter operation.

Pros and cons
What I liked
- Generous size for modern components.
- Includes three 120mm RGB fans.
- Comes with a dedicated RGB controller.
- Overall ease of assembly.
- Distinctive and attractive design.
What I didn’t like
- Elevated price.
- Somewhat limited space for cable management at the bottom.
Verdict: is the H6 RGB Plus worth it?
The NZXT H6 RGB Plus is a very solid choice for those seeking an attractive design and good component management. While the price is a factor to consider, the inclusion of RGB fans and a dedicated hub, along with the ease of assembly and build quality, justify the investment for many users. The dual chamber, although not drastically impacting temperatures, does improve aesthetics and cable organization. For me, if the budget allows, it’s a recommended purchase.
If you’re looking for a complete case, this is one of the best options that’s on the market.